
BY PRISHA RATHORE
STAFF WRITER
Hello, welcome to another article in the “DIY Rainbow Loom” series! Today I will teach you how to make a standard beginner bracelet called the diamond bracelet. You will need a loom, hook, s-clip/c-clip, and rubber bands.

First, make sure you start placing bands on the side where the red arrow is closer to you.

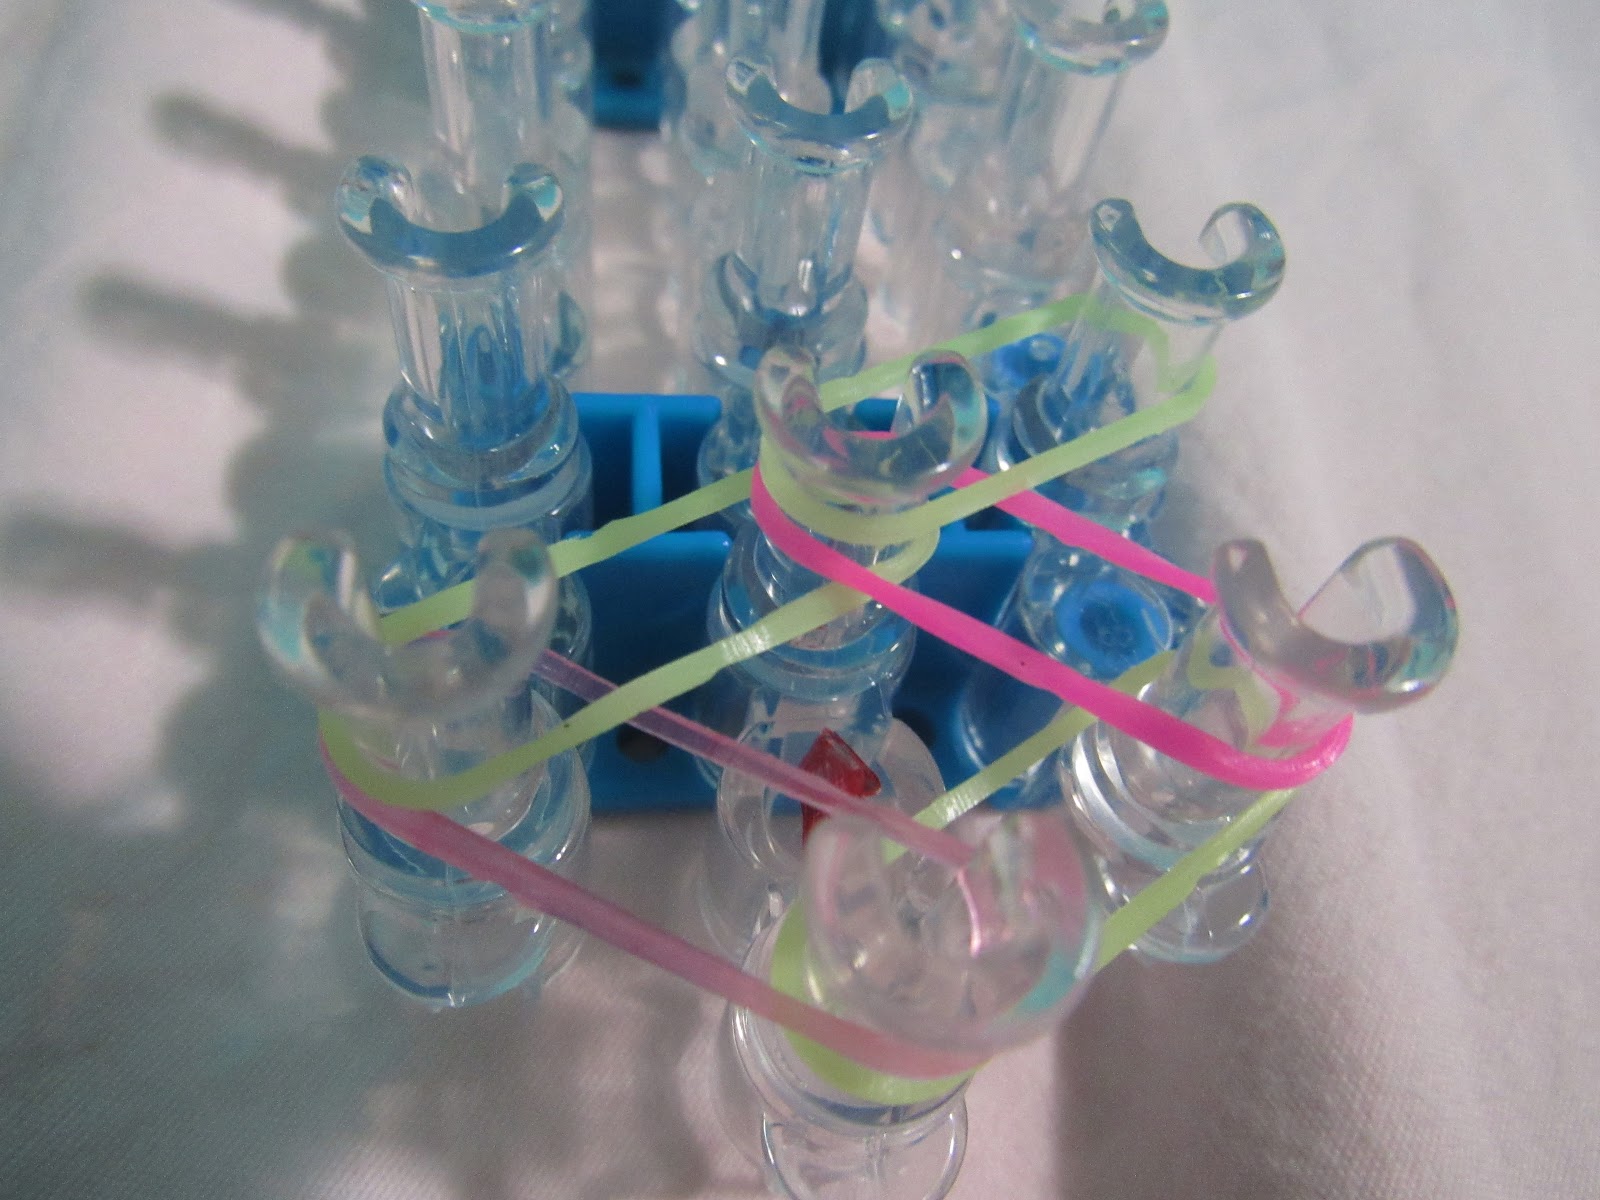
Second, start placing your bands in a diamond pattern like the example below.

Continue using the images below to help you place the bands.
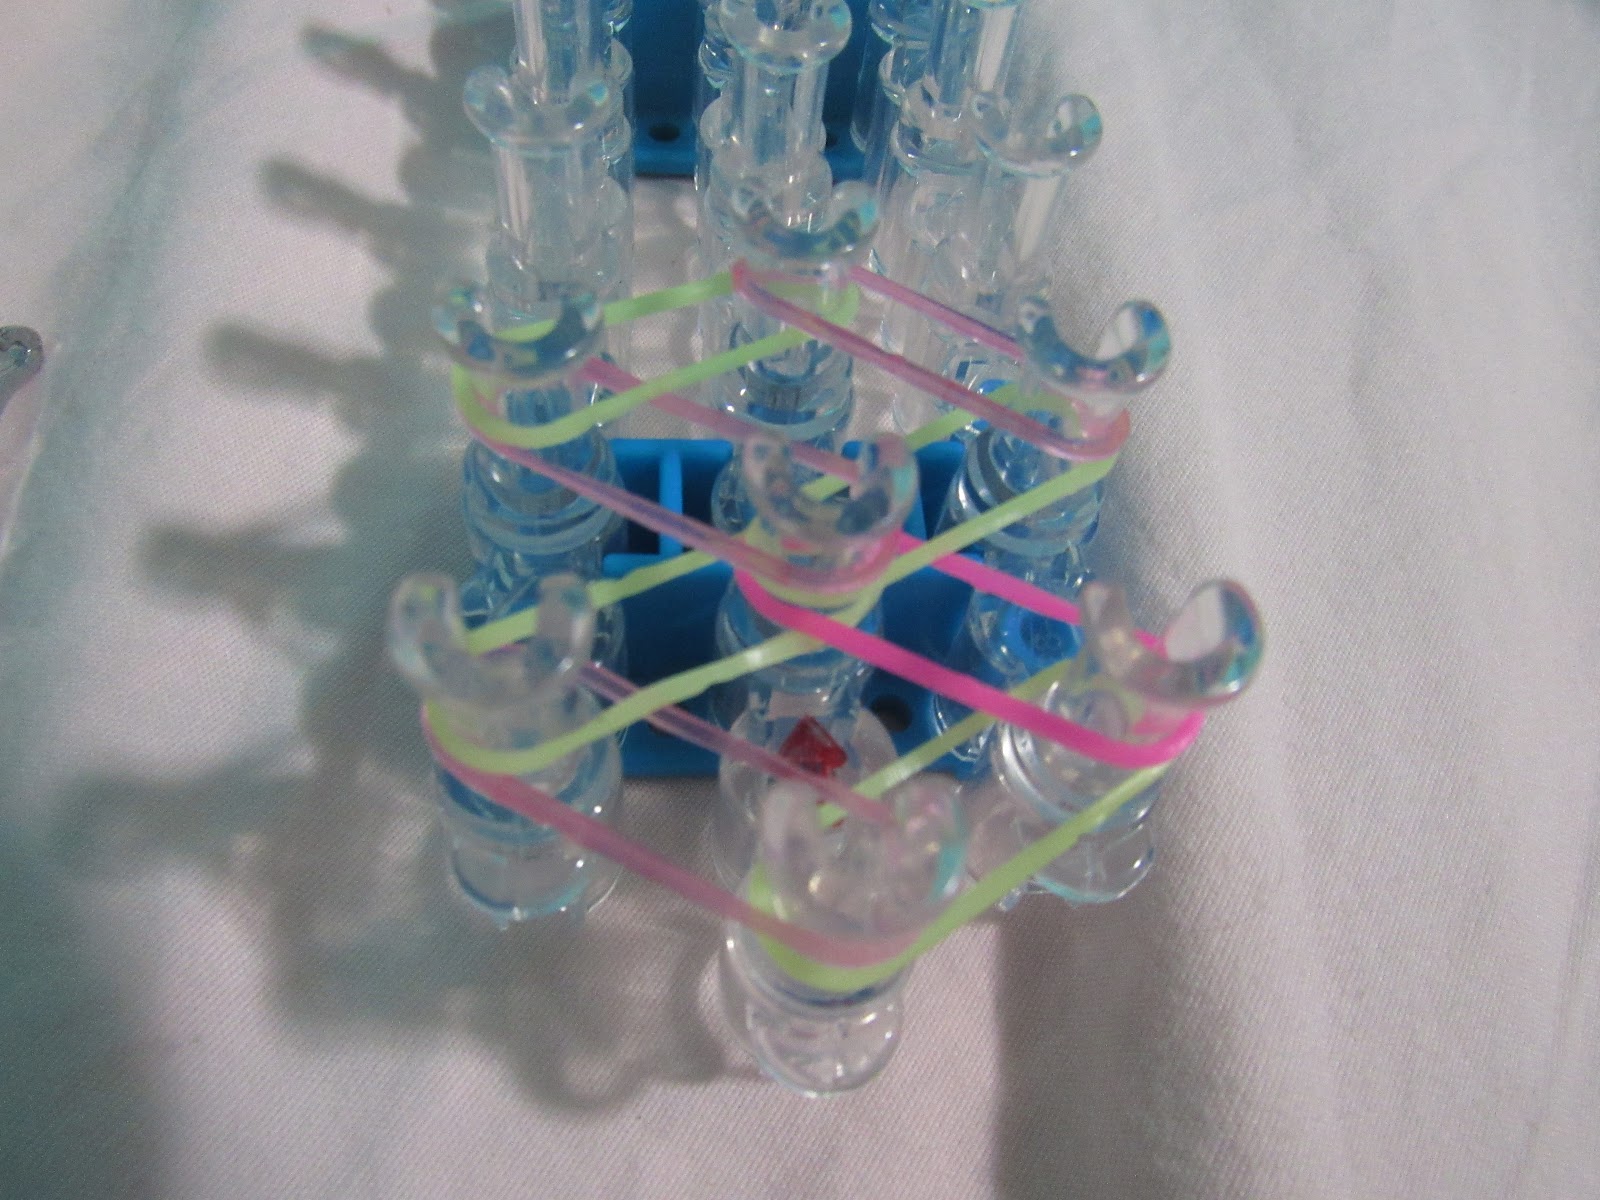
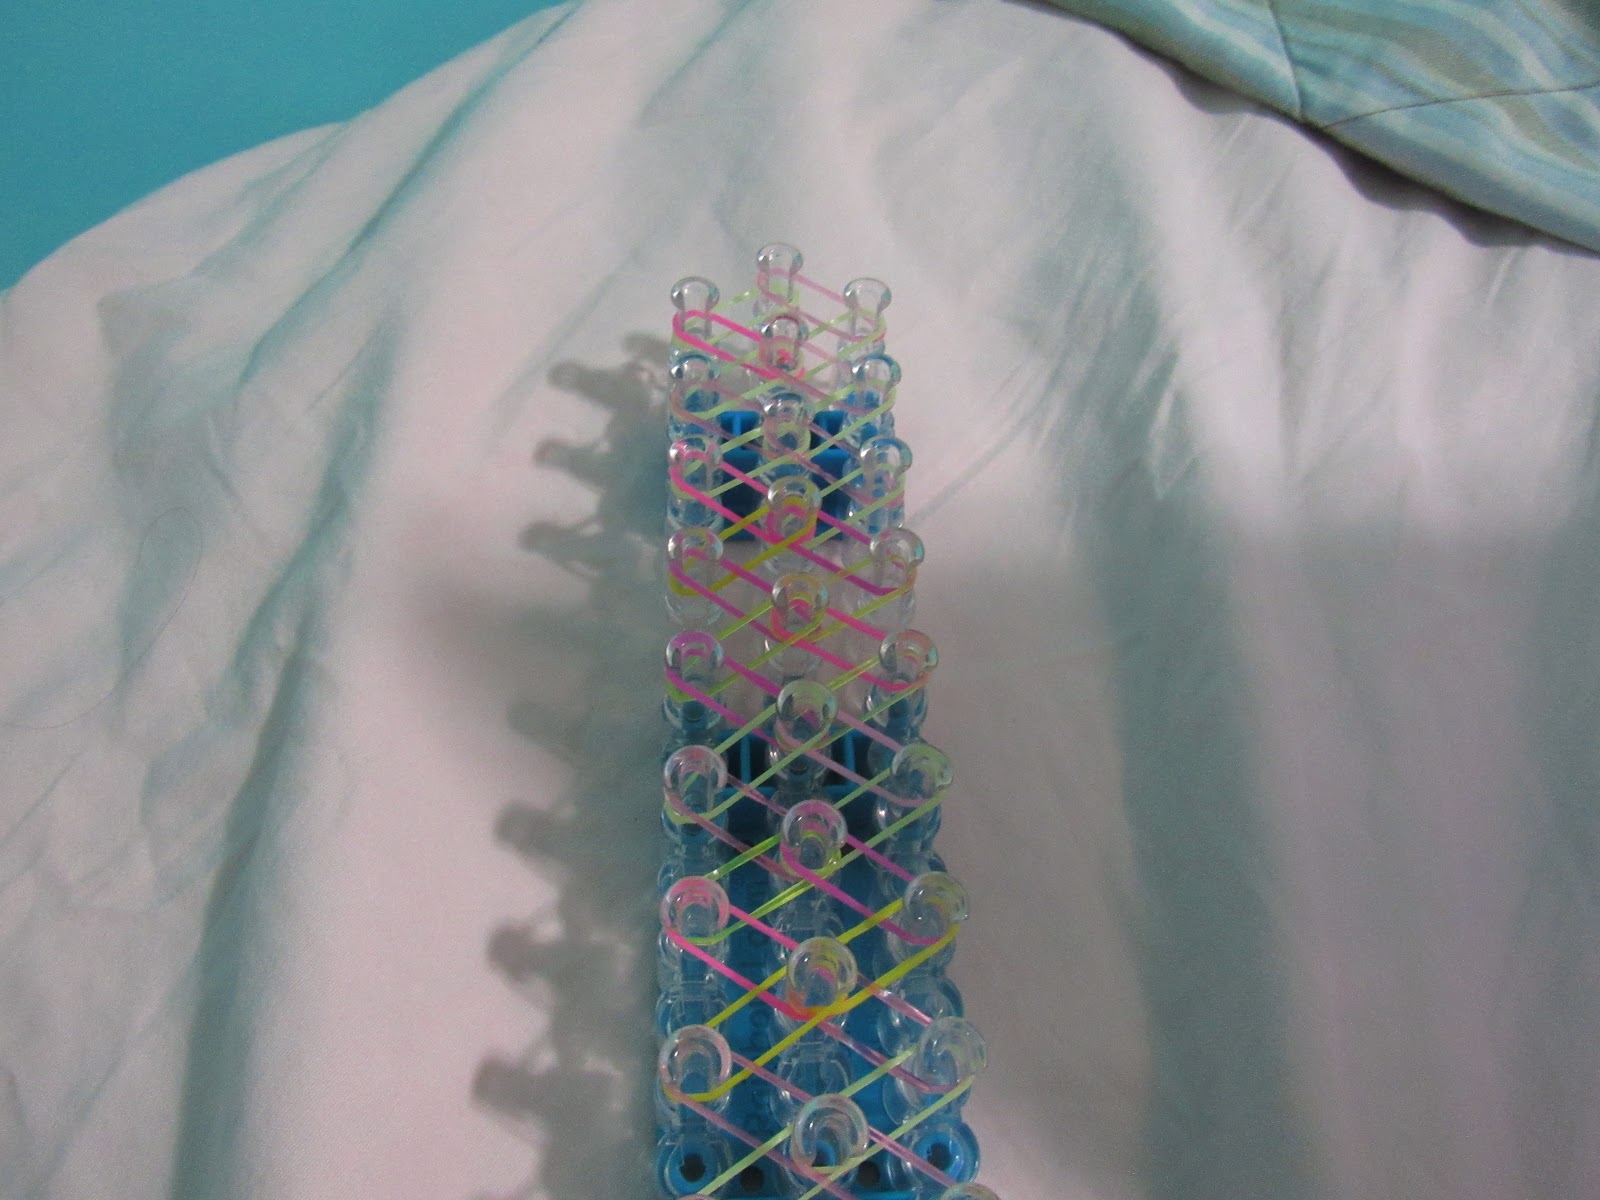
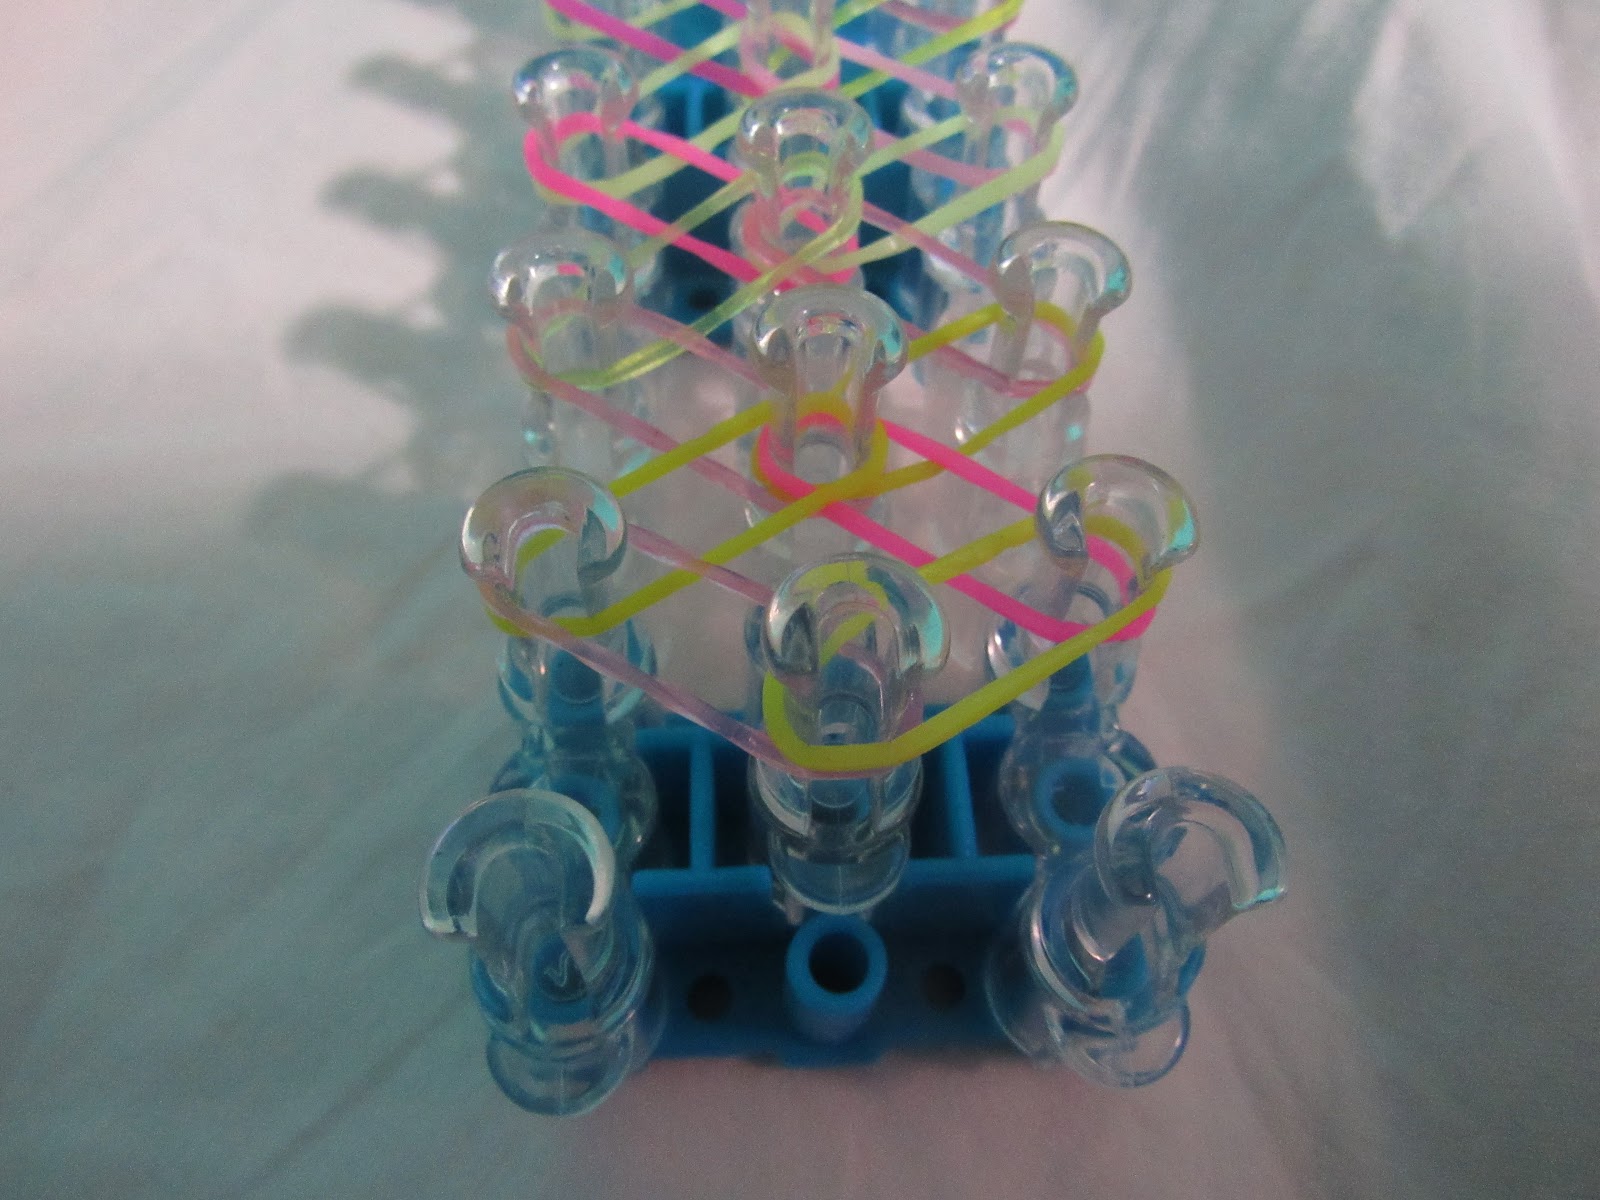
Once you have placed all your bands, the final result should look like this.
Turn your loom over to the side where there is no red arrow. It is time to start looming!
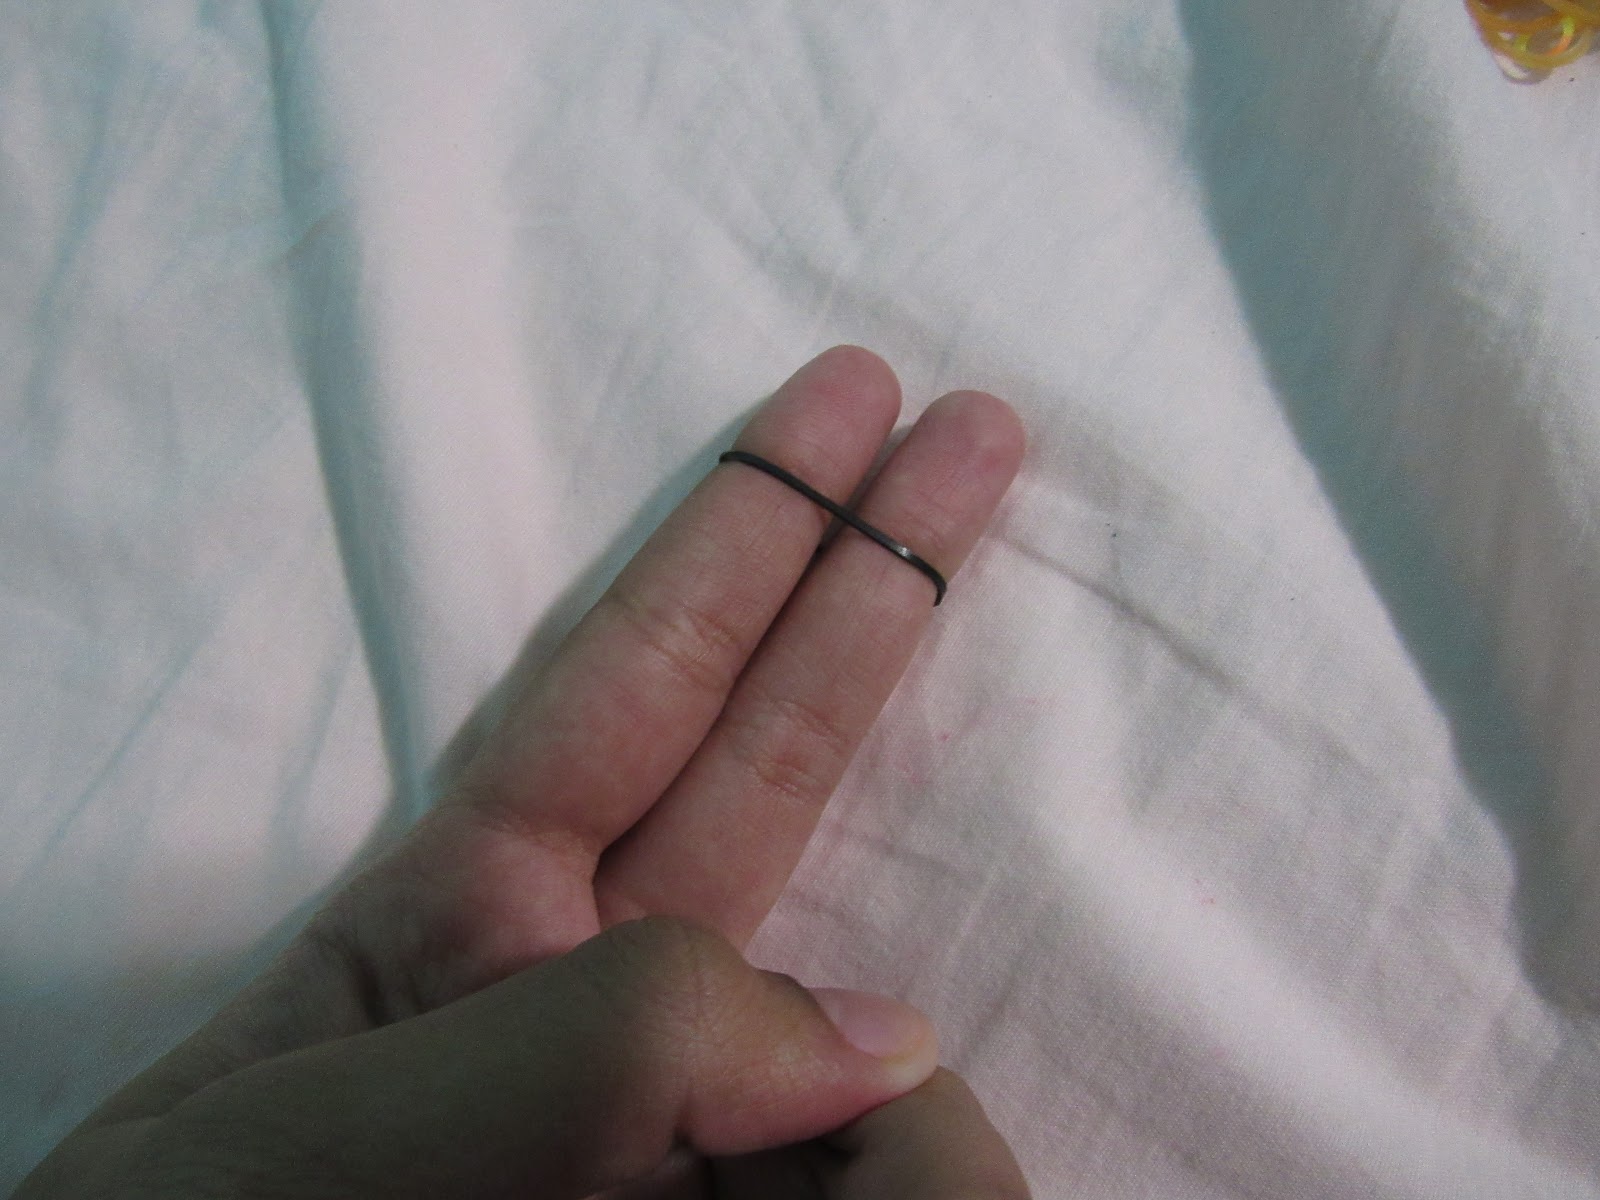
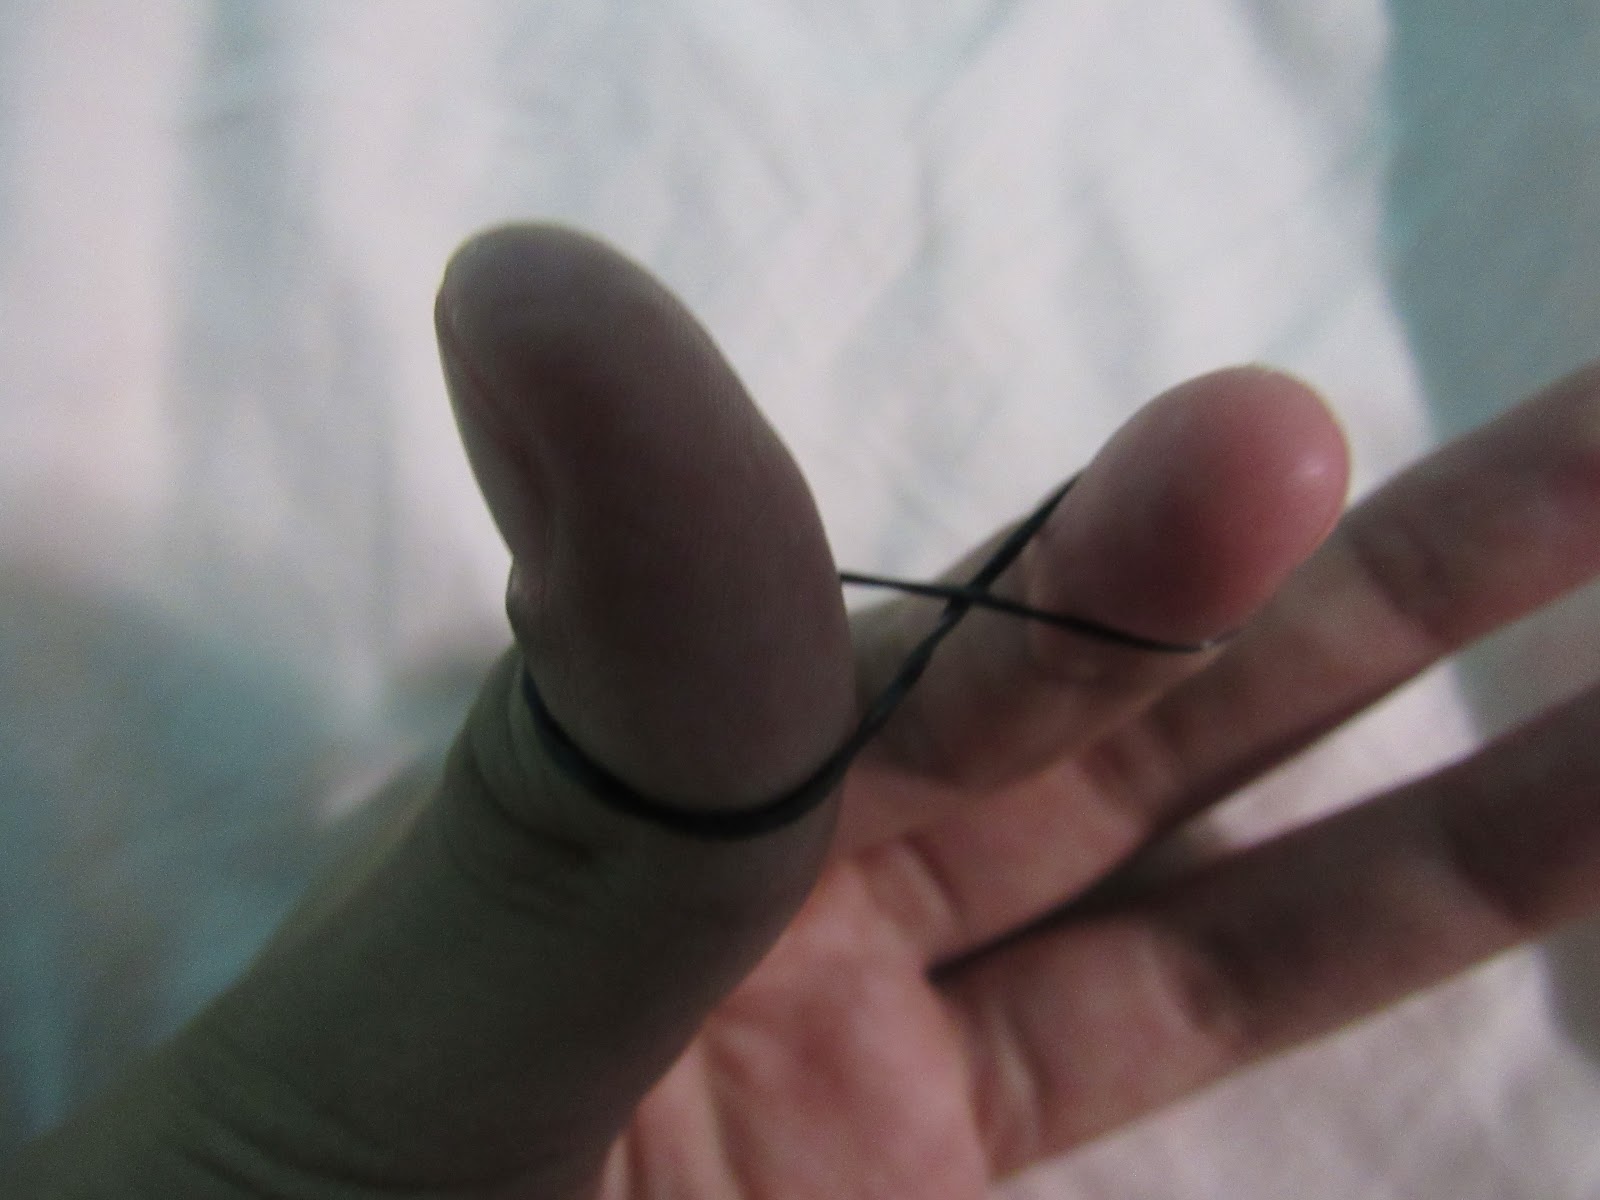
Now, we are going to learn how to make a cap-band. It will help bind off the bracelet. Use the examples below to make one.

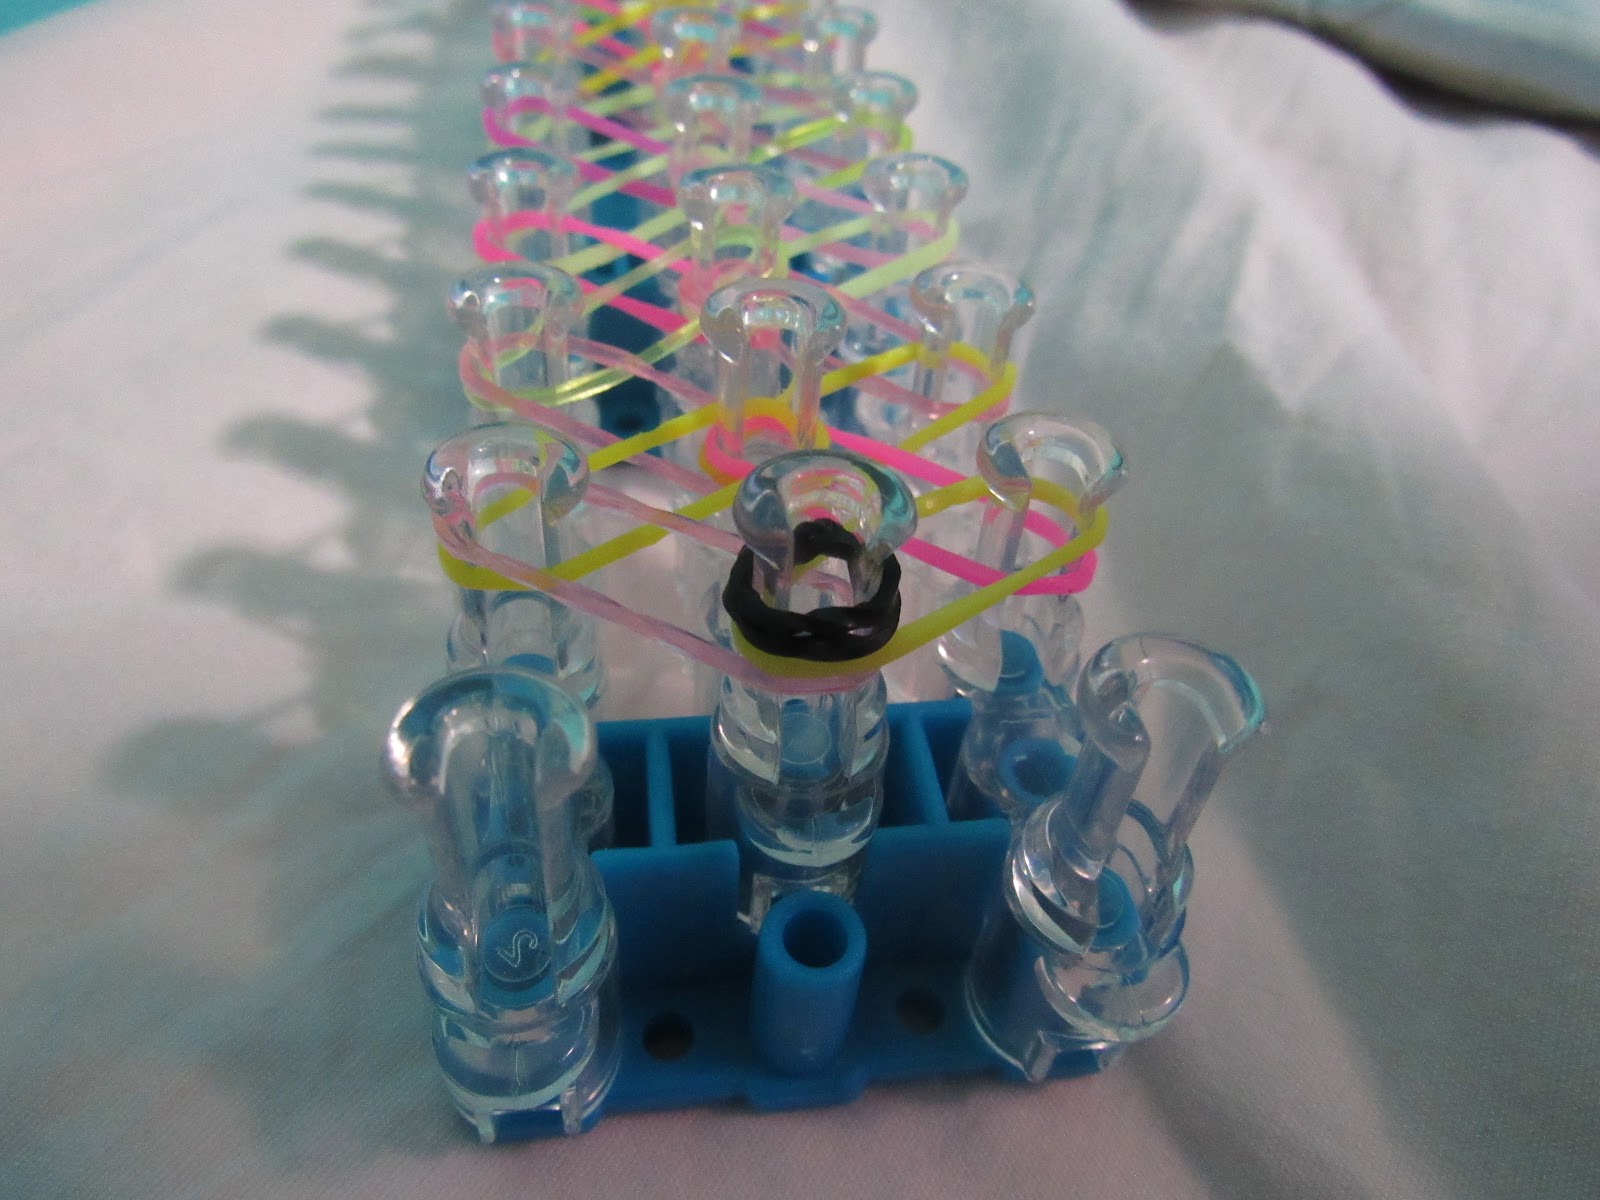
You are officially ready to loom! Place your hook in the cap-band, grab a band, take it off the peg, and then place it on the peg that has a corresponding color.


Do the same with the yellow band.


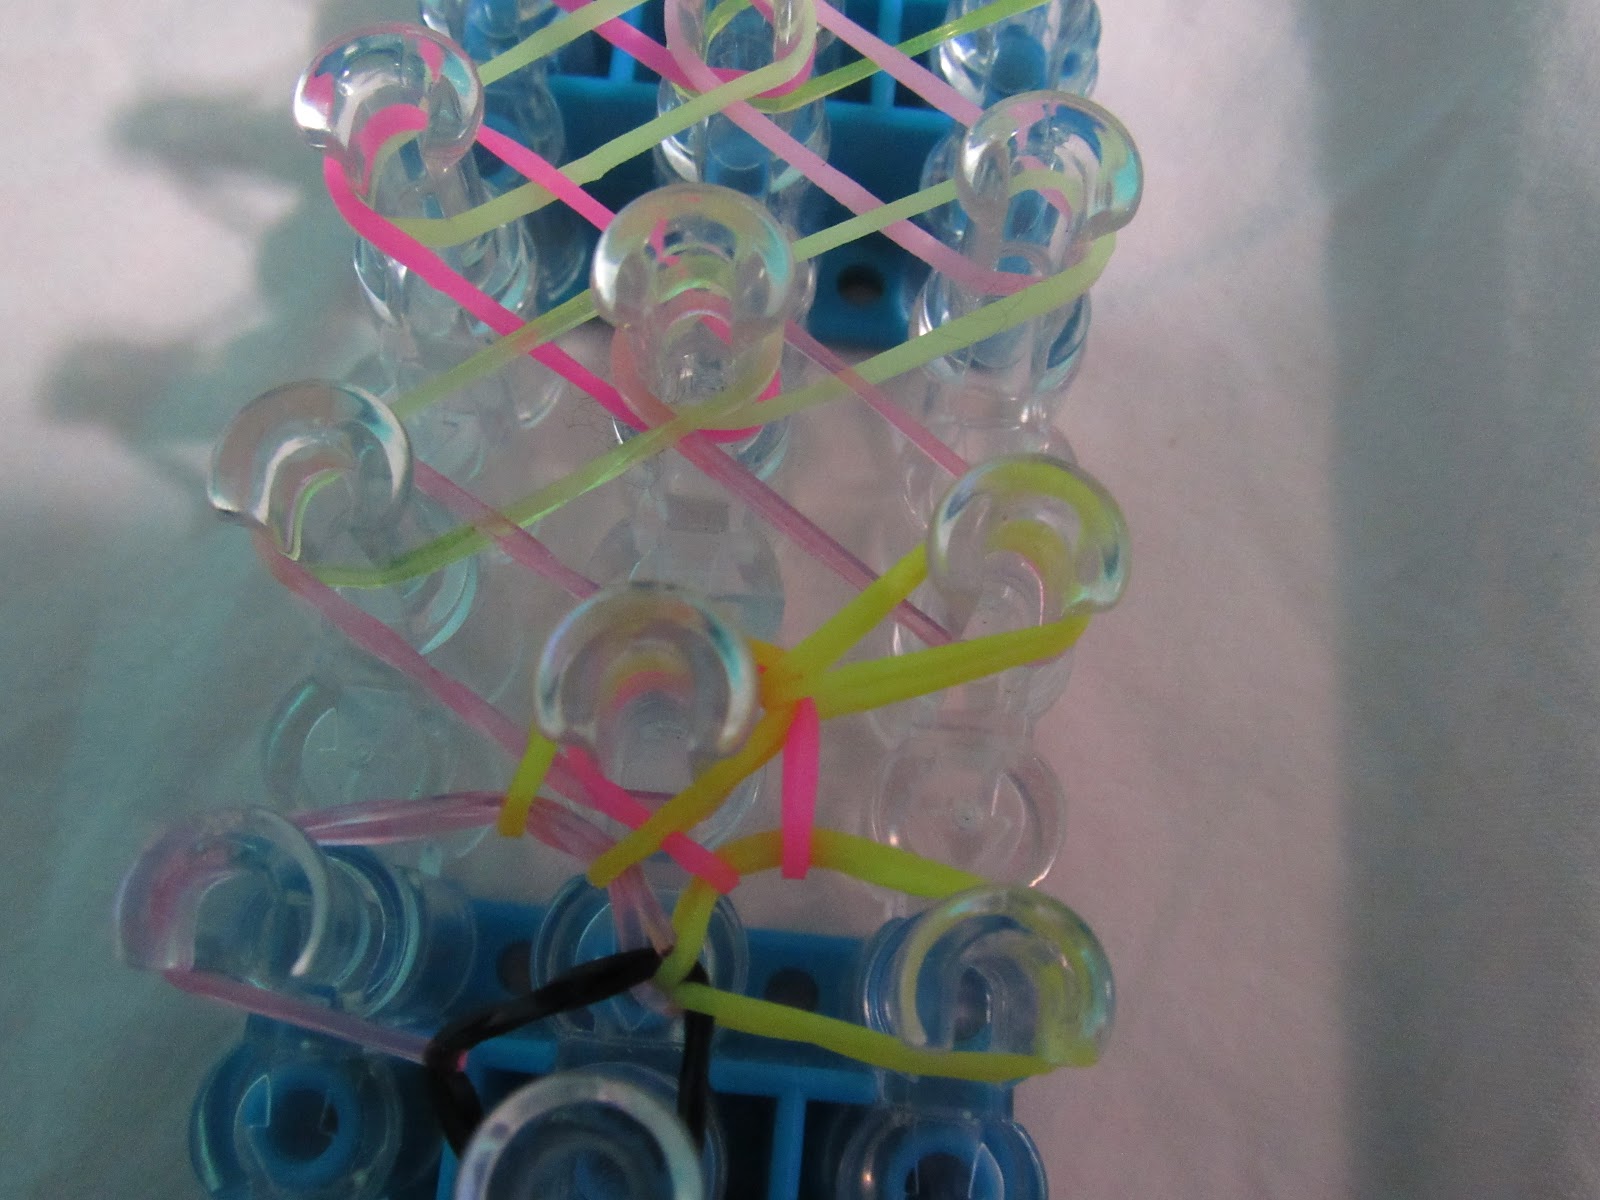
Start looming the yellow and pink bands. If you need help, read the steps above.


Good Job! Reach inside those bands and grab the band that corresponds to the one diagonal to it. Continue looming after you have done that.
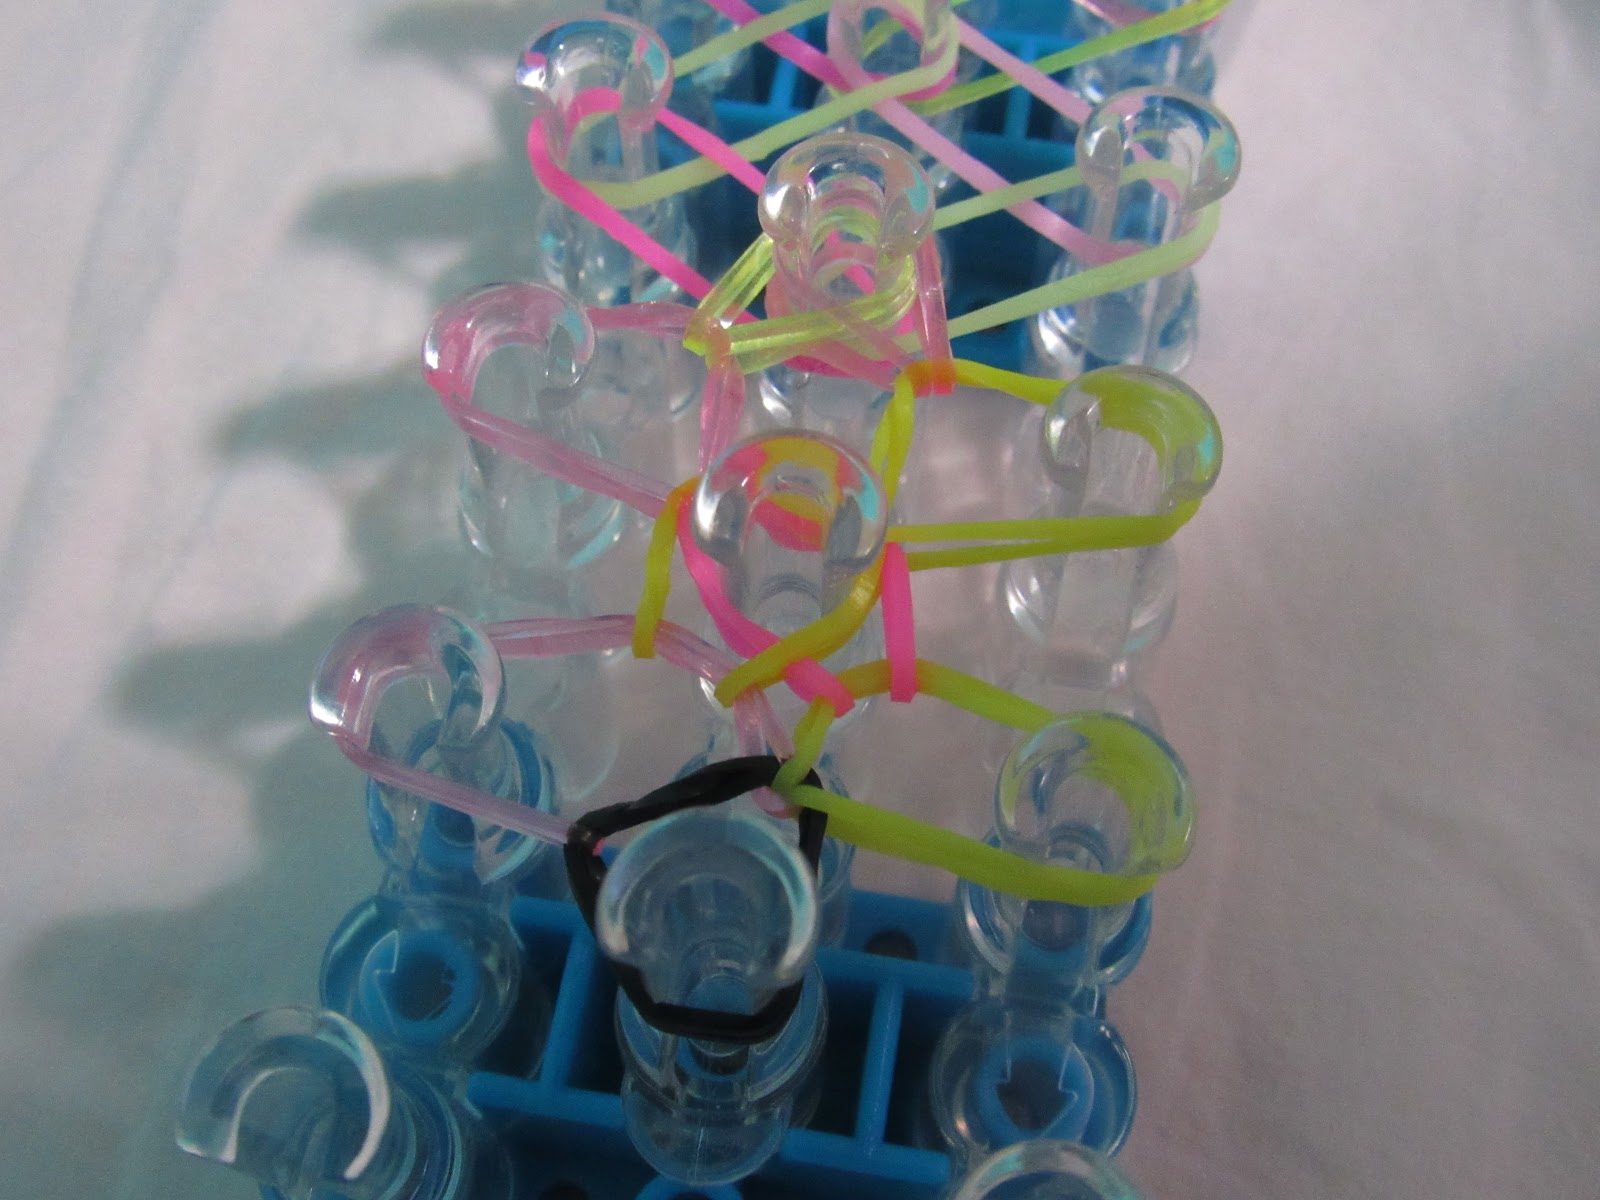
Once you are finished looming the whole thing, your loom should look like this.

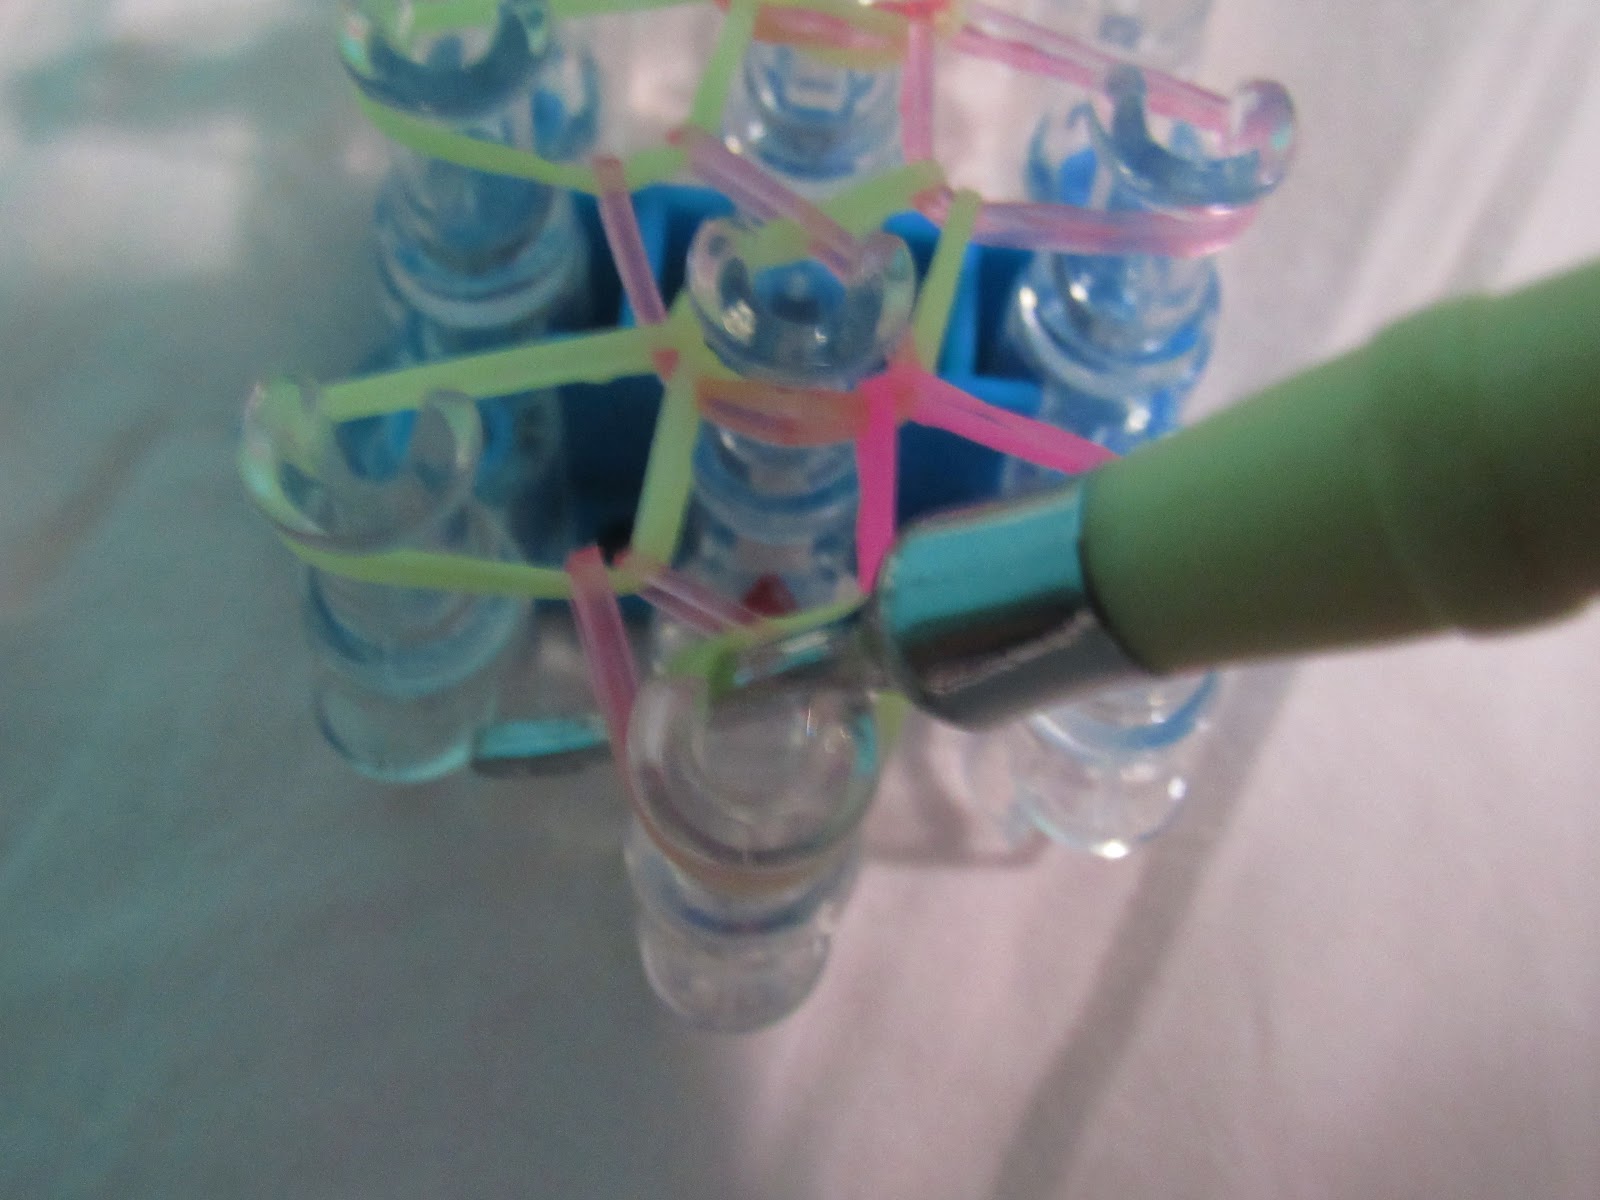
Turn your loom over so the red arrow is closest to you.

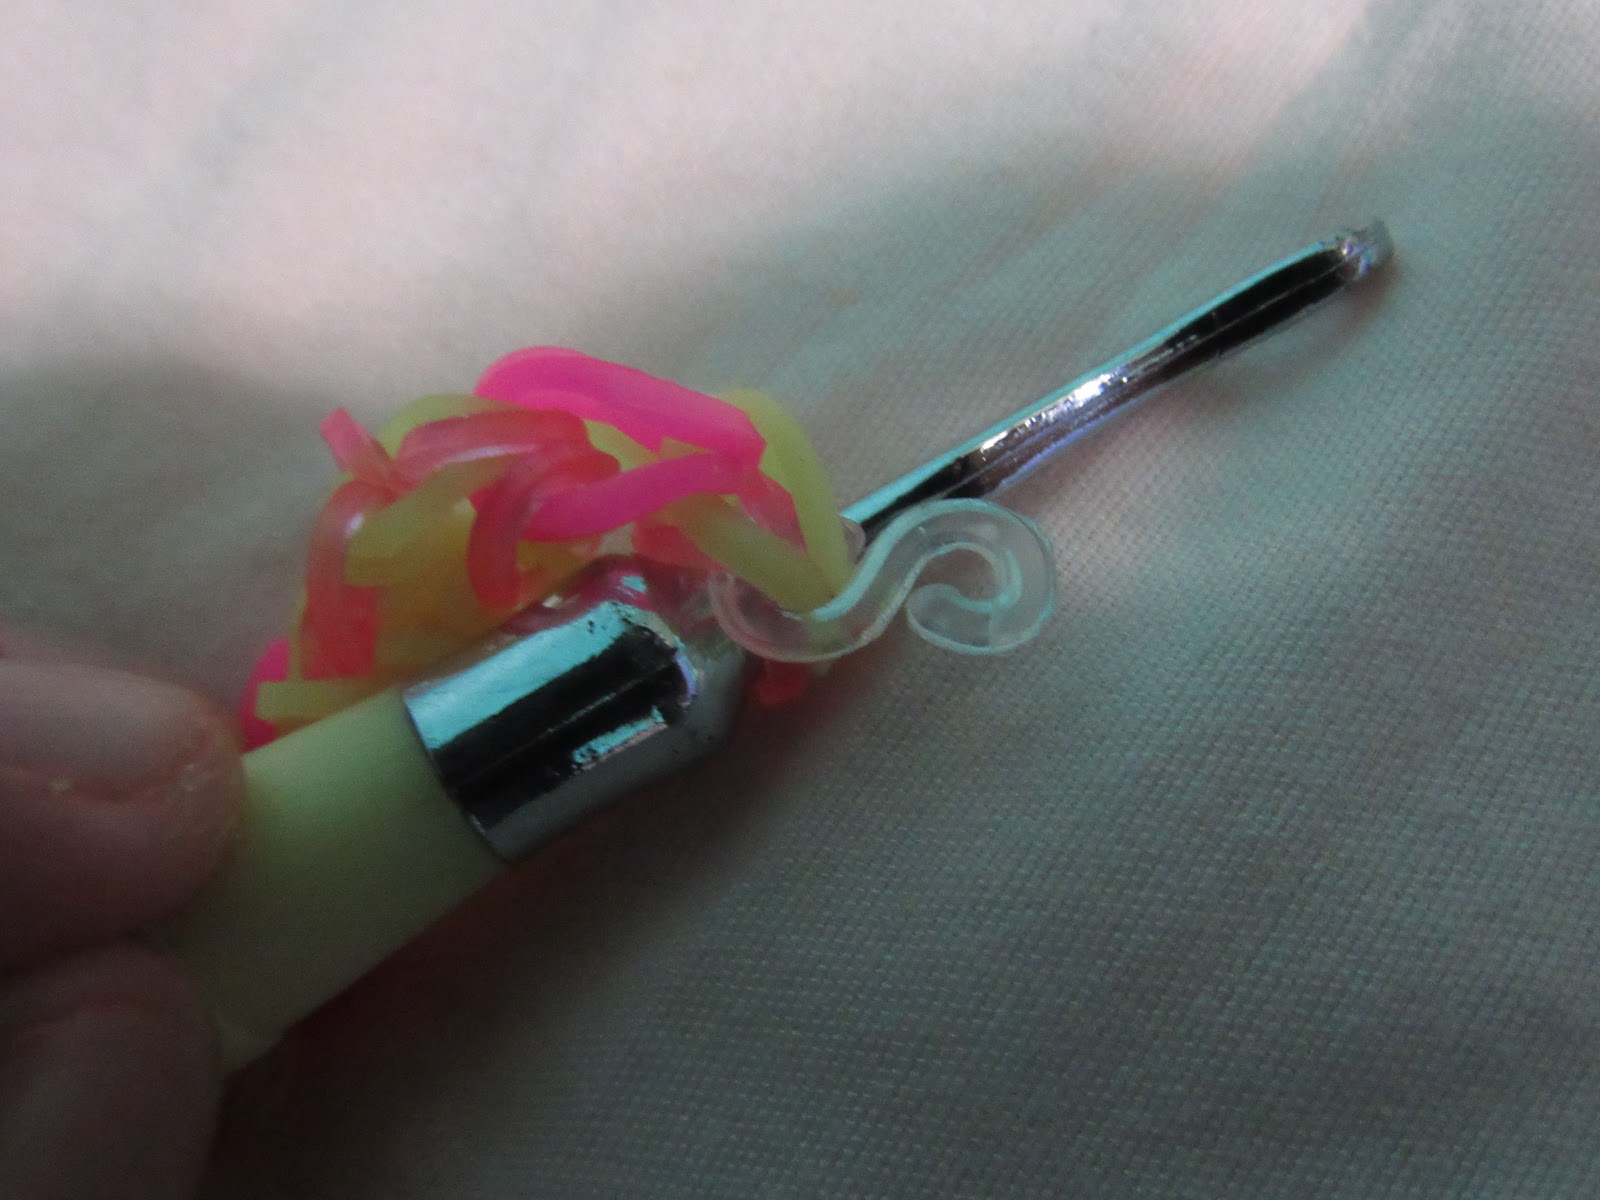
Stick your hook inside the bands at the end.
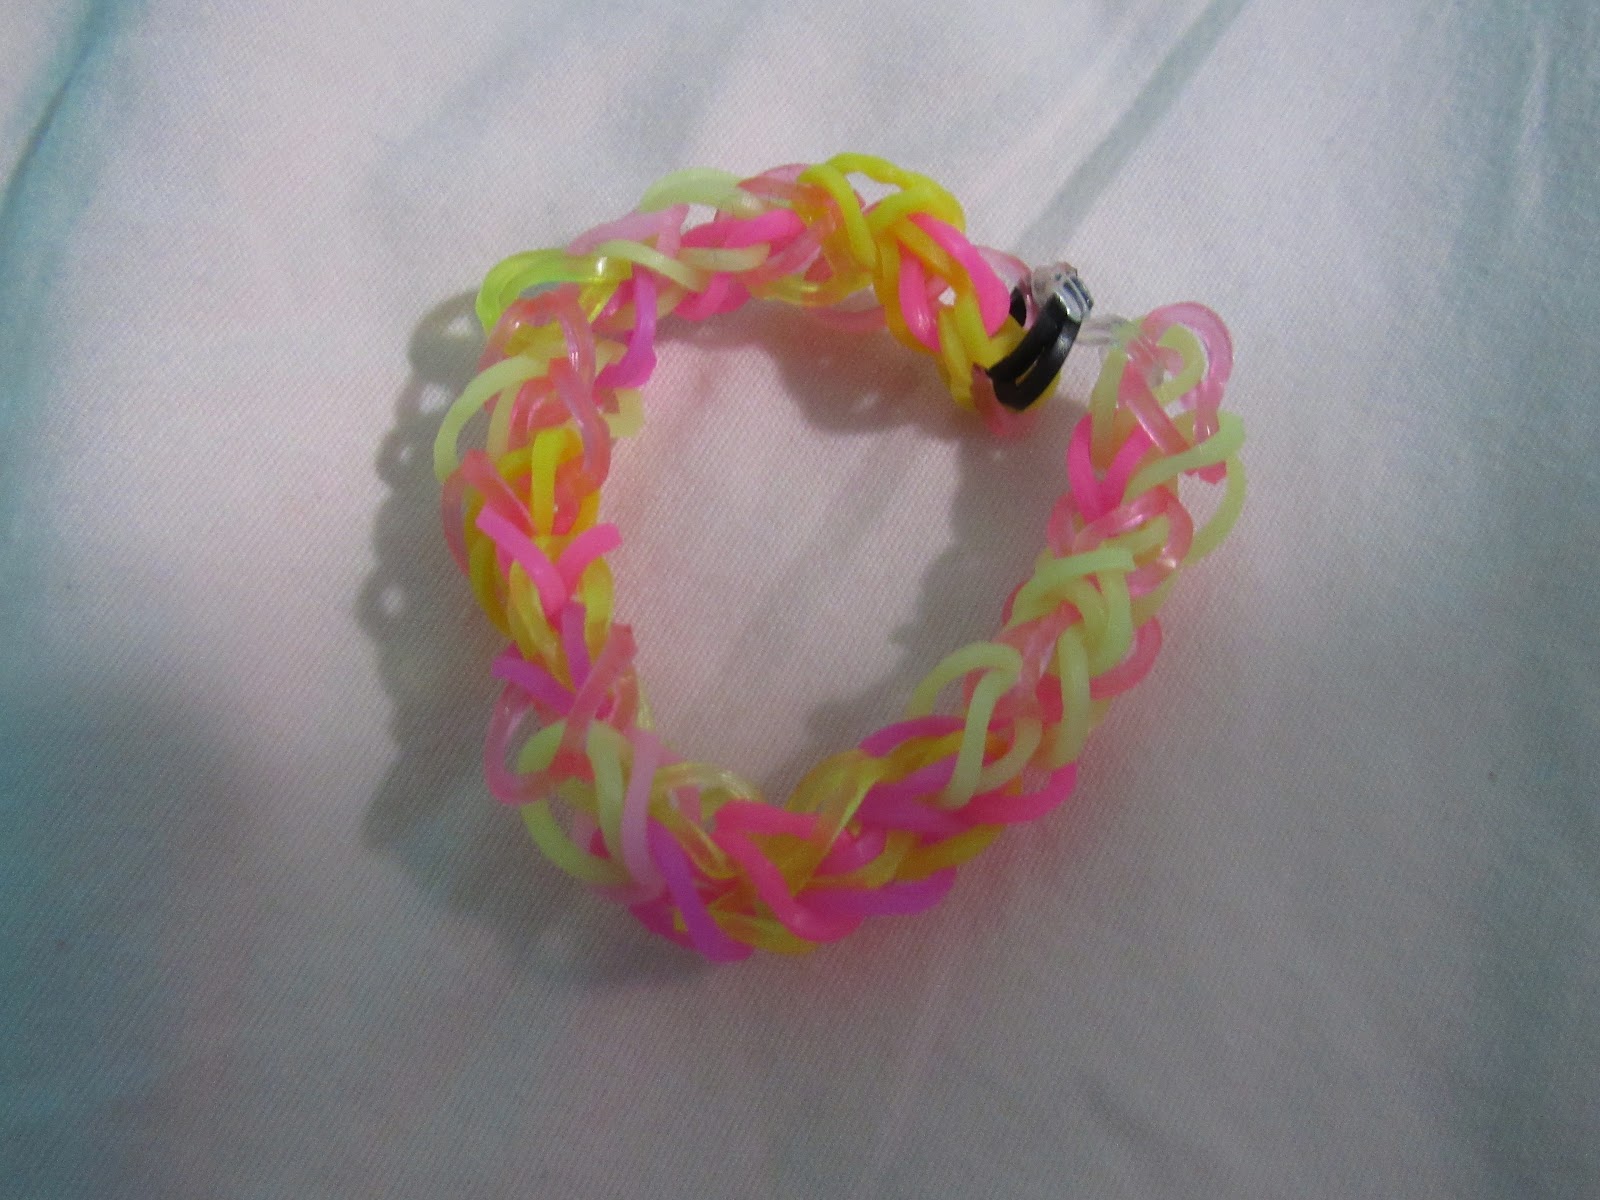
Start to carefully take it off the loom; afterward, it should look like this.

Lastly, attach a clip to the end and connect the bracelet.
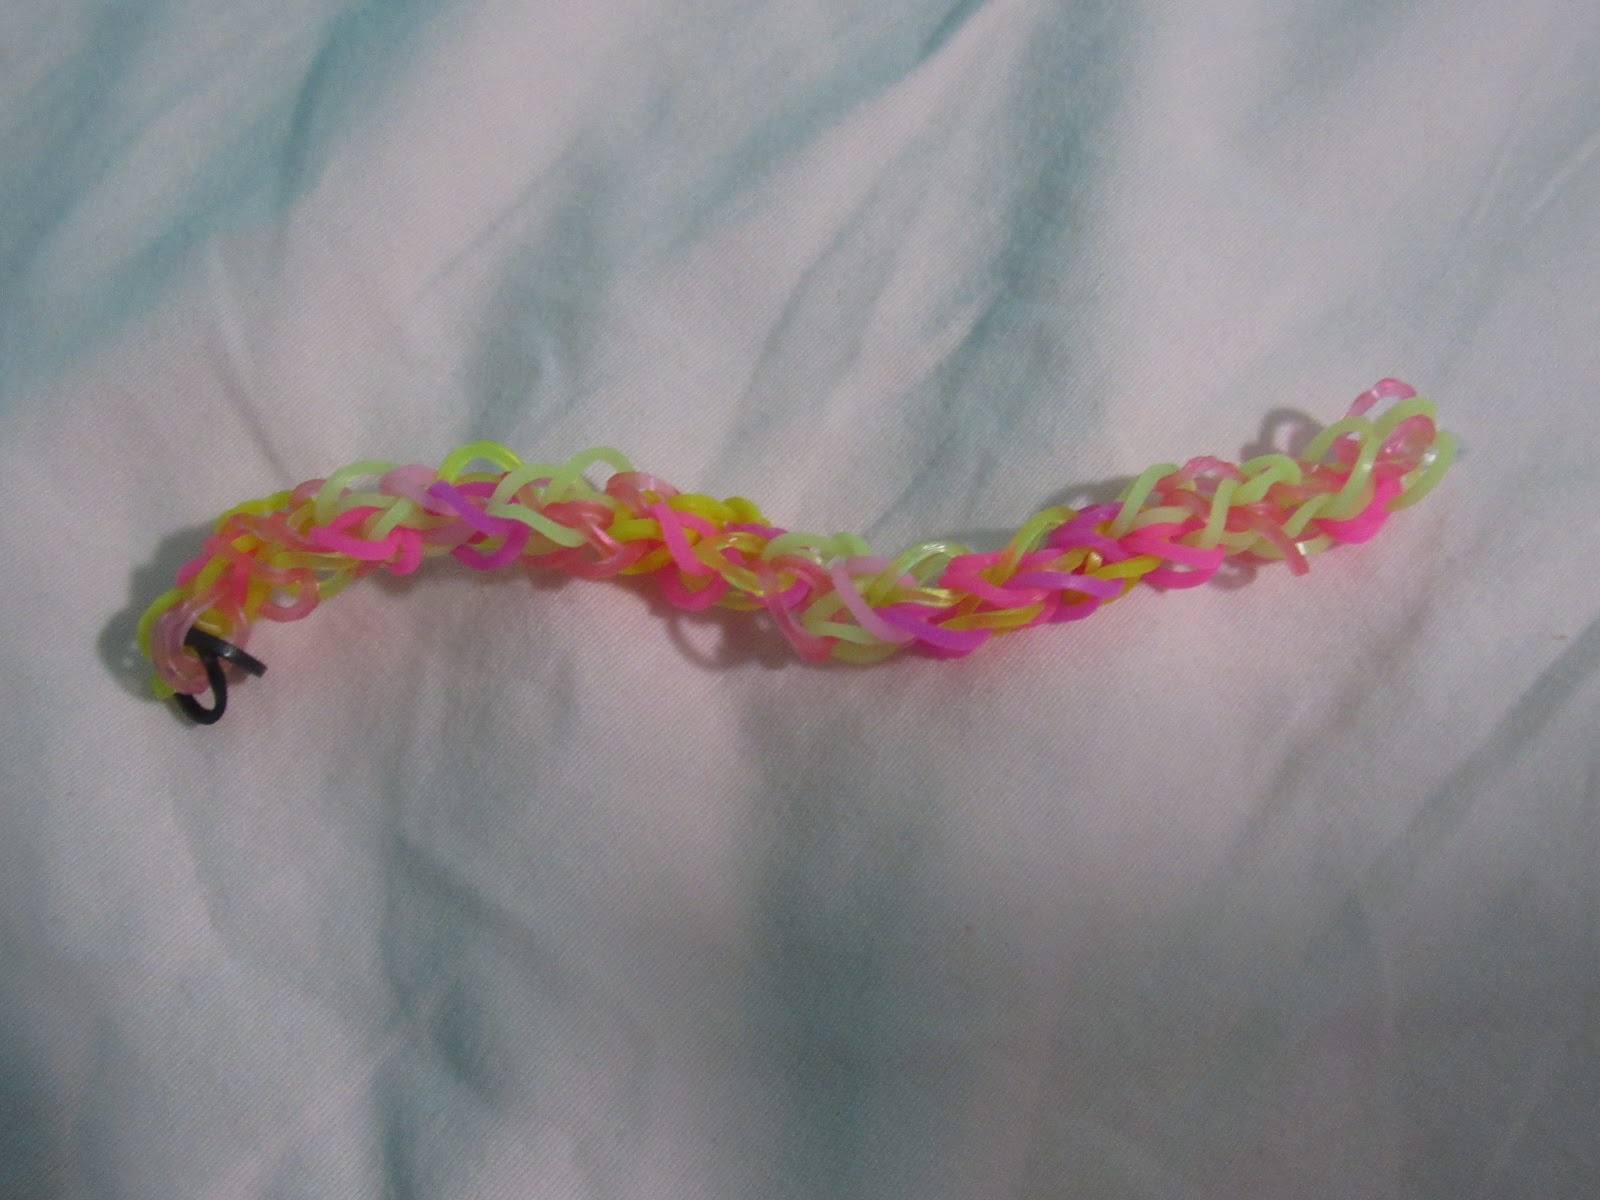
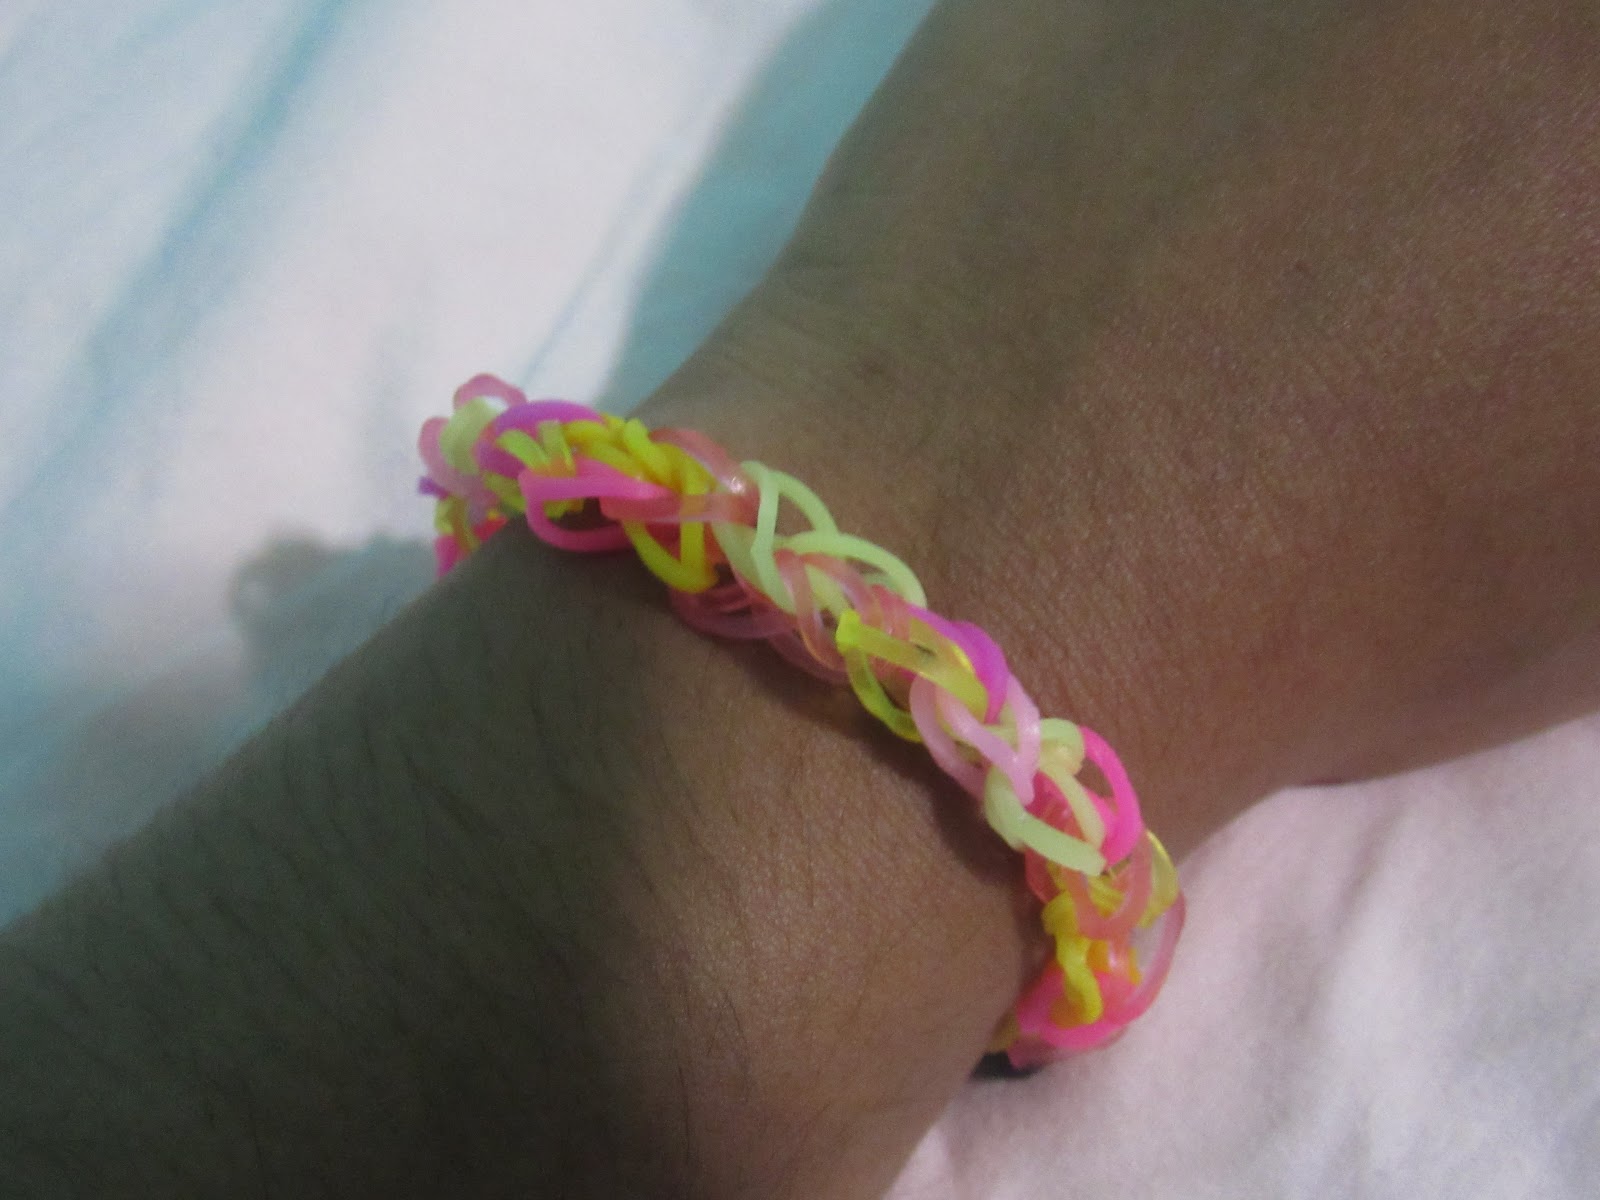
Nice work, you did it! If you are really interested in Rainbow Loom, there are many YouTubers that have tutorials on how to loom, too. I hope this was fun for you!