
BY PRISHA RATHORE
STAFF WRITER
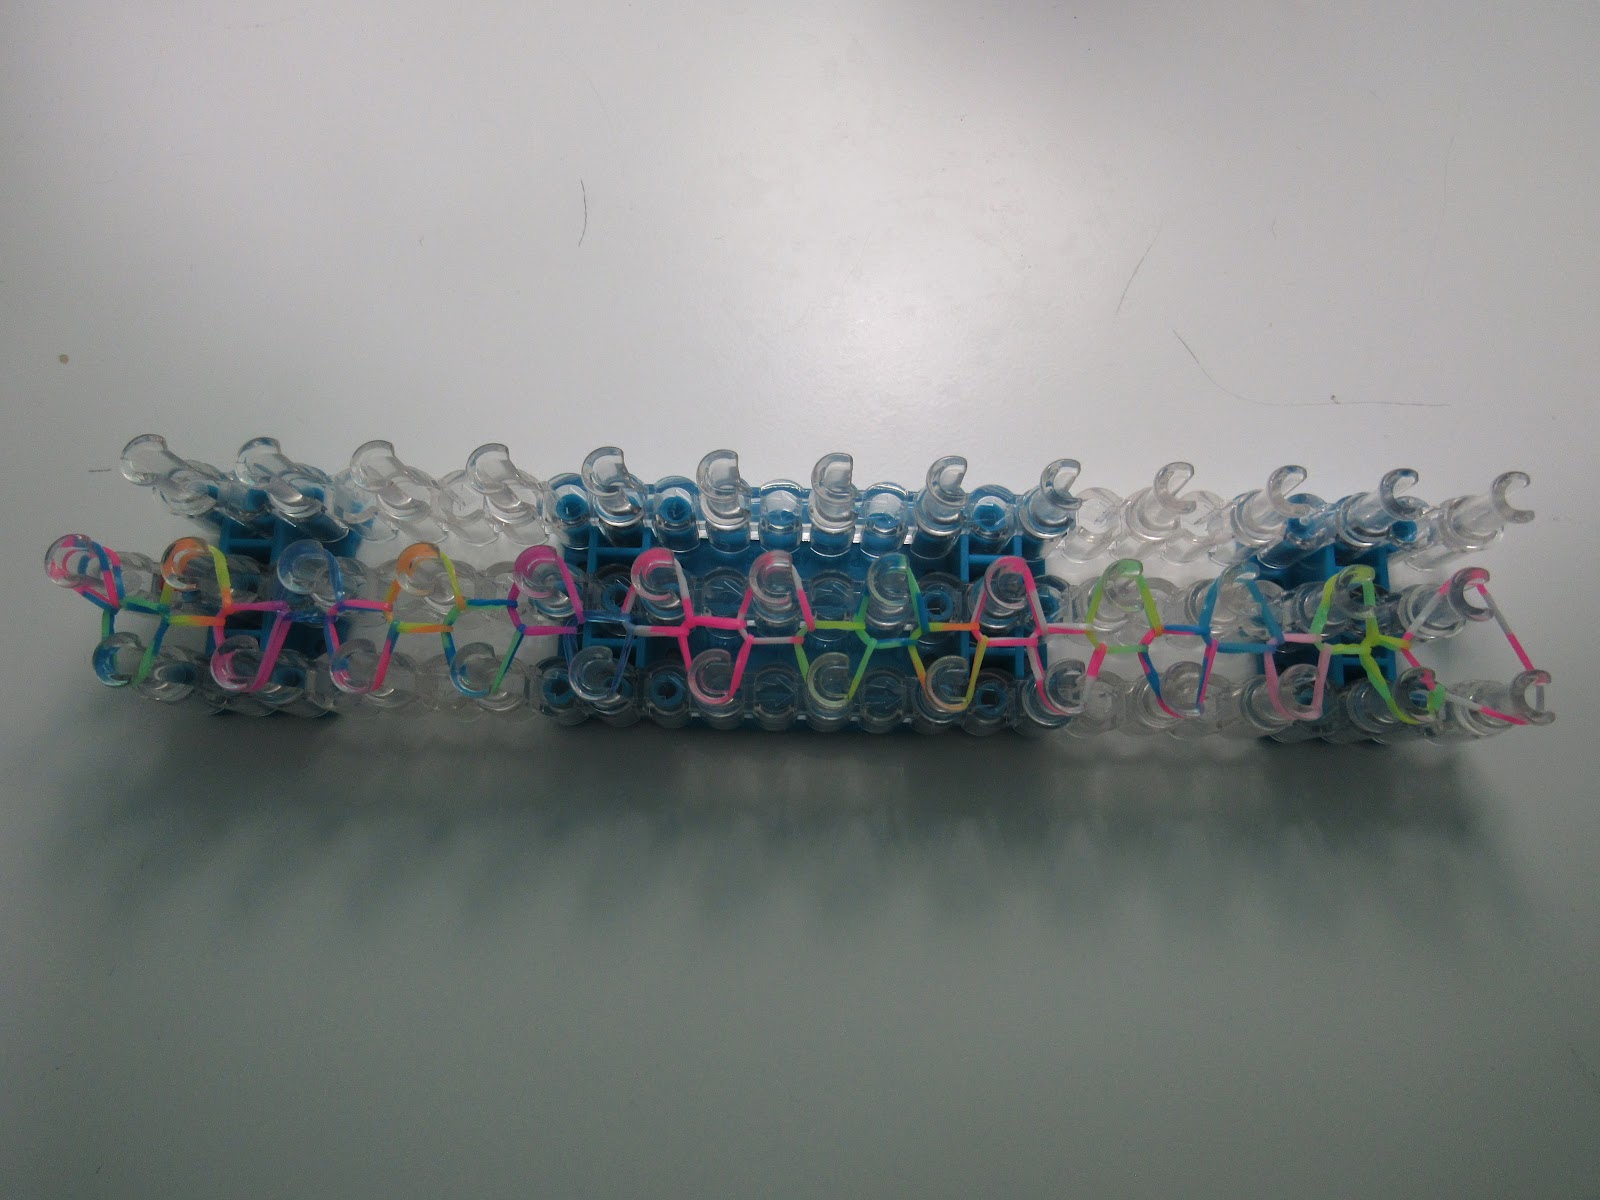
If you are in the mood for doing something crafty and creative, Rainbow Loom is just the thing for you! Well, you may be wondering what Rainbow Loom is. Rainbow Loom is a plastic peg board that comes with rubber bands, a hook, and some clips that connect your bracelet. The loom looks a little something like this.
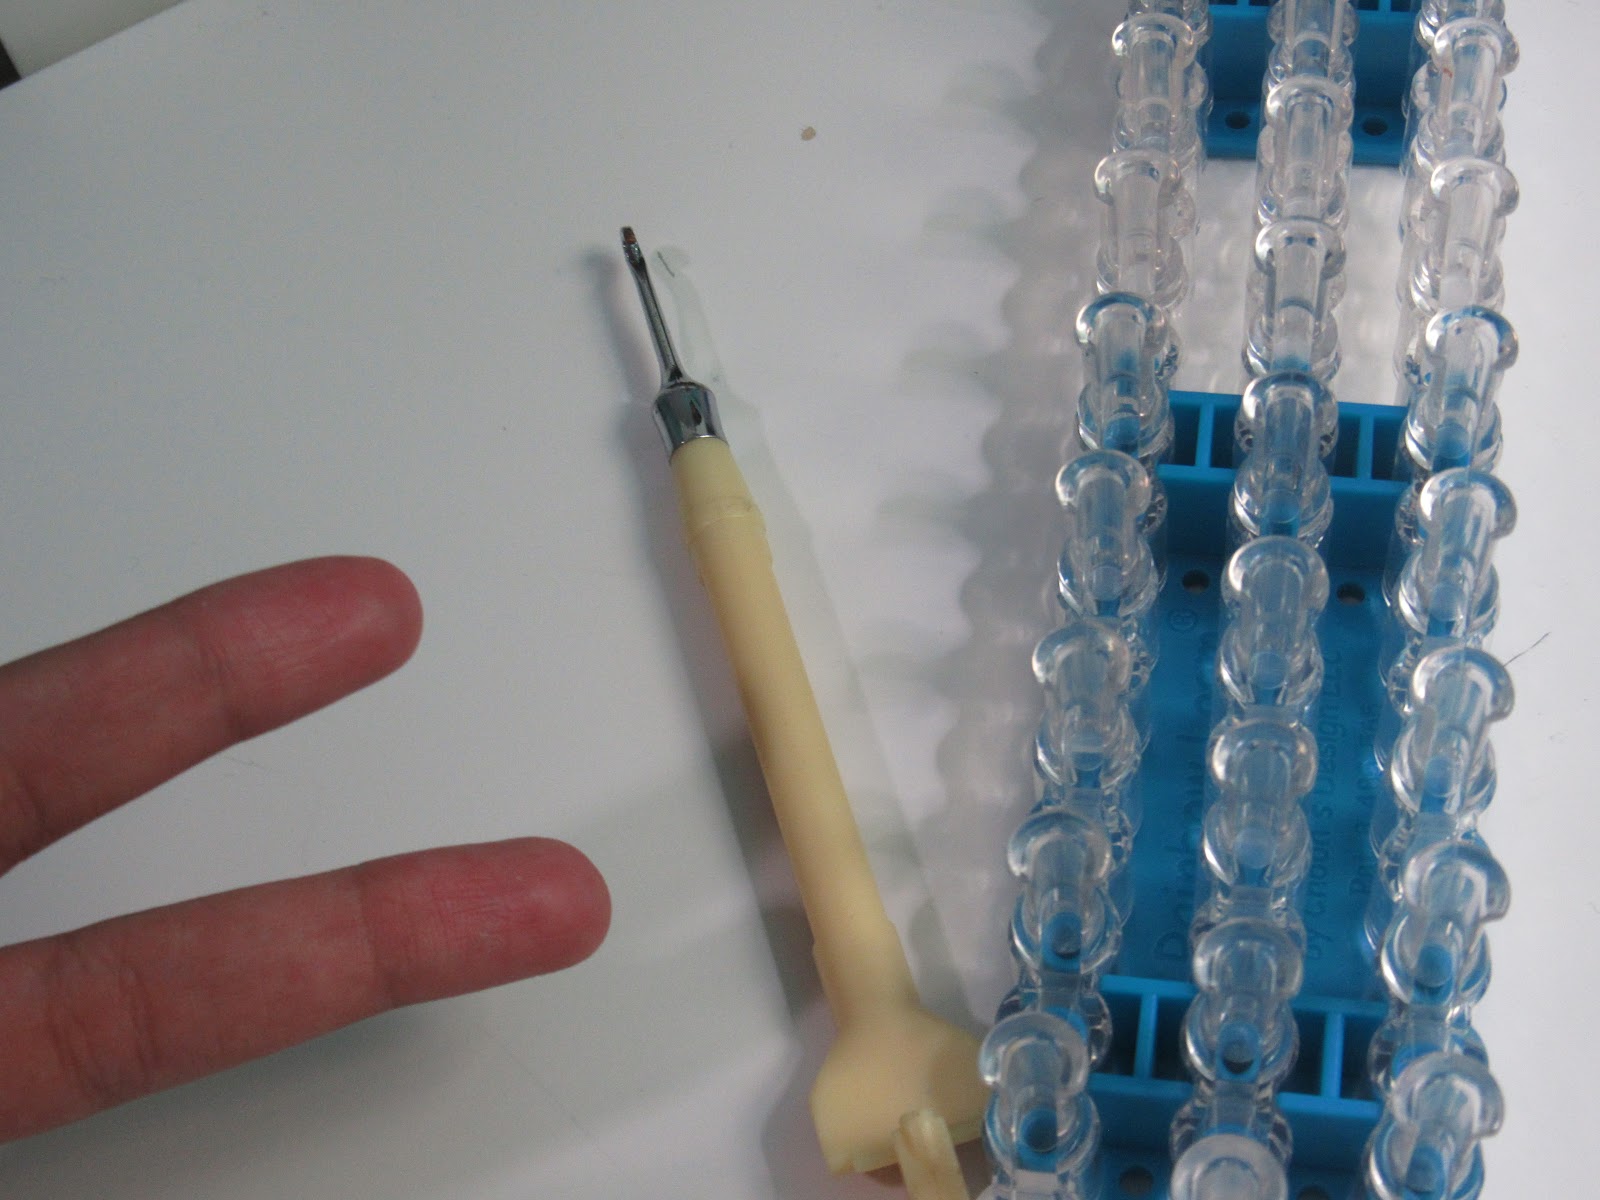
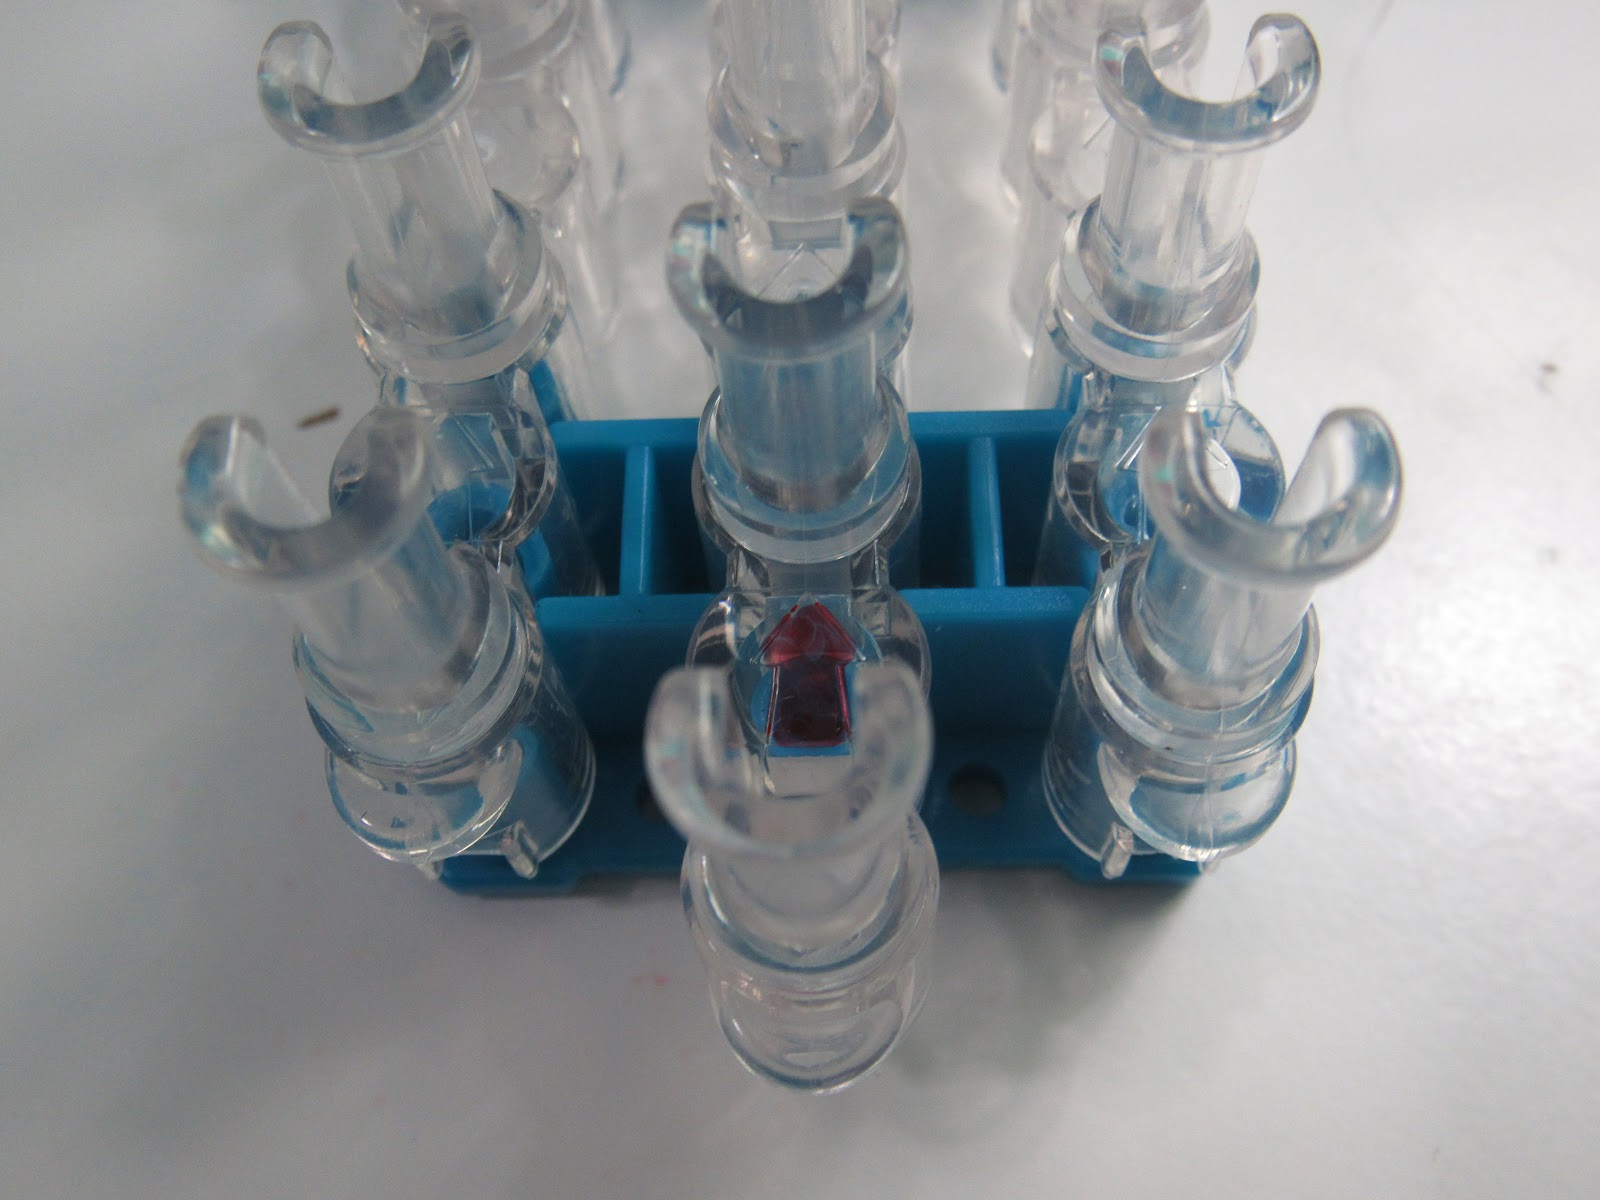
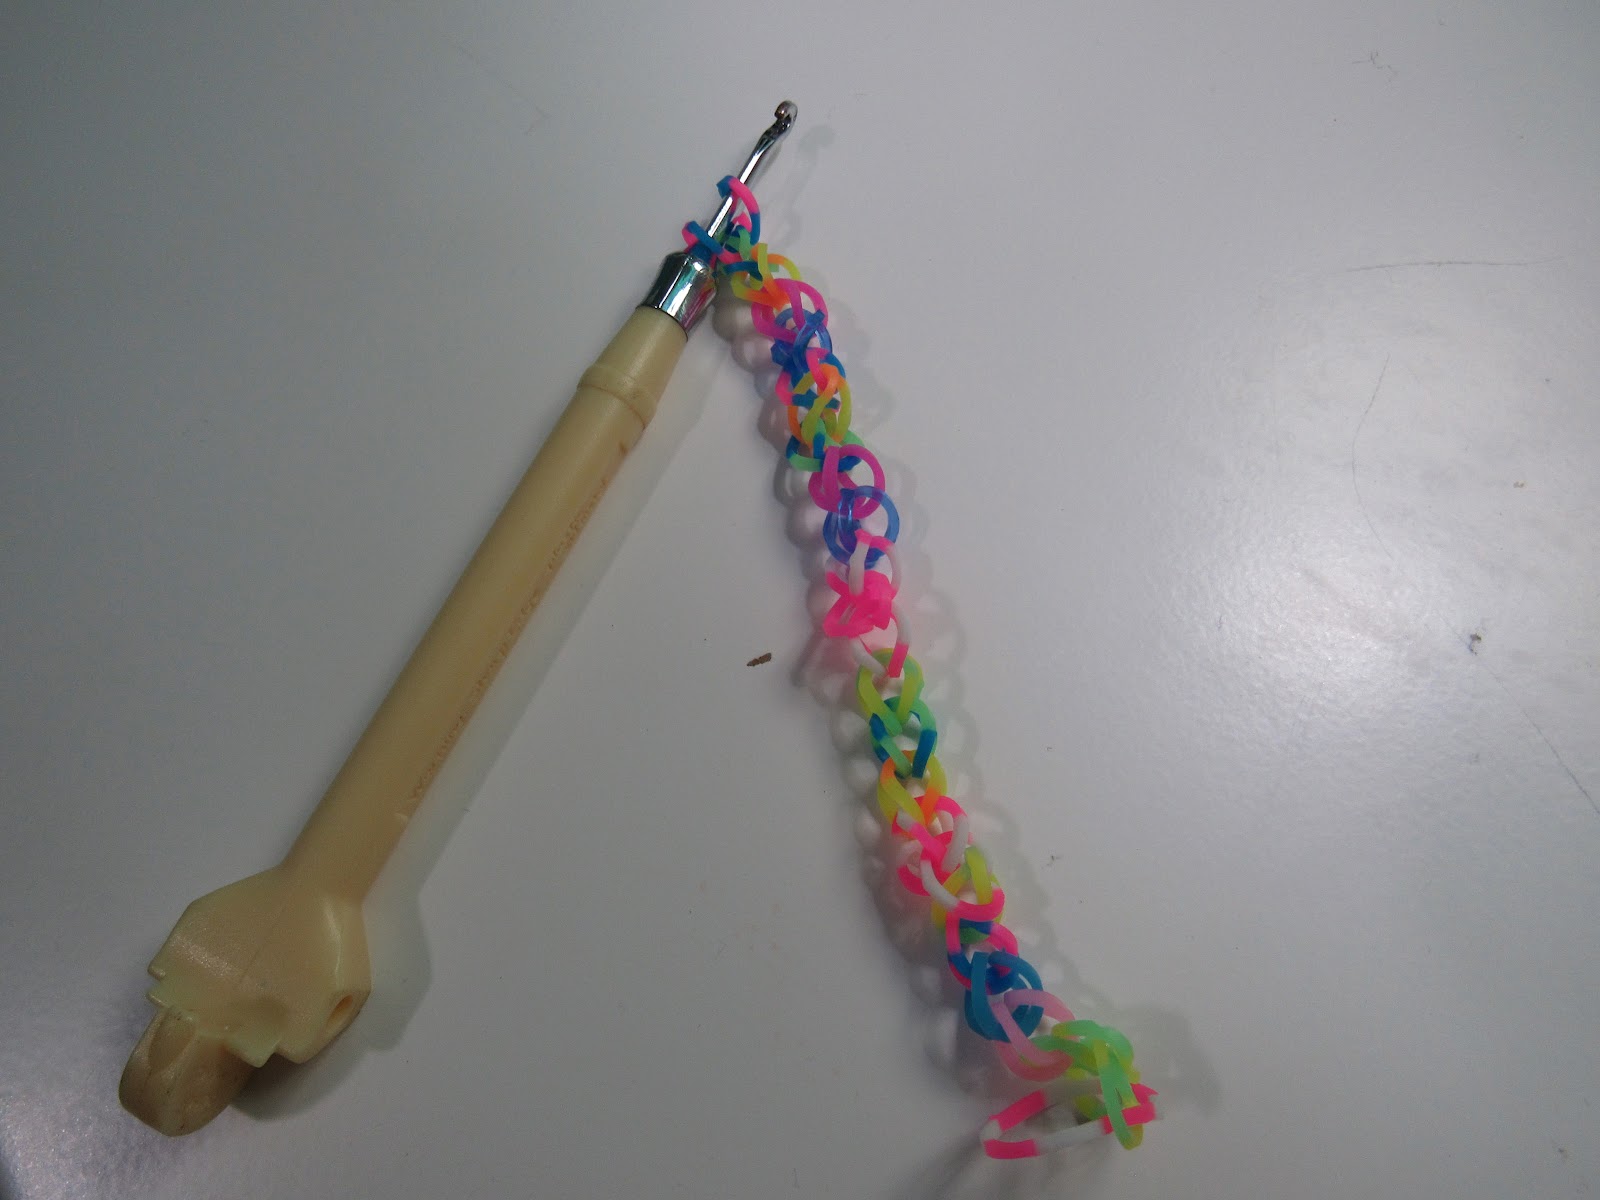
Here is the hook that comes with it too! It will be used to connect bands. Now, if you are in the mood for making your first bracelet, you will definitely need some rubber bands. Don’t worry if you don’t have a loom or hook. This article will present a no hook and loom way of making this same bracelet with your fingers. If you do want the hook and loom, you can buy it on Amazon. The bracelet we are making is called the Single Chain bracelet, which is perfect for beginners! Let’s get started with the hook and loom way! First, lay your loom so the arrows point down like this.
Now we will start laying out the bands like this.
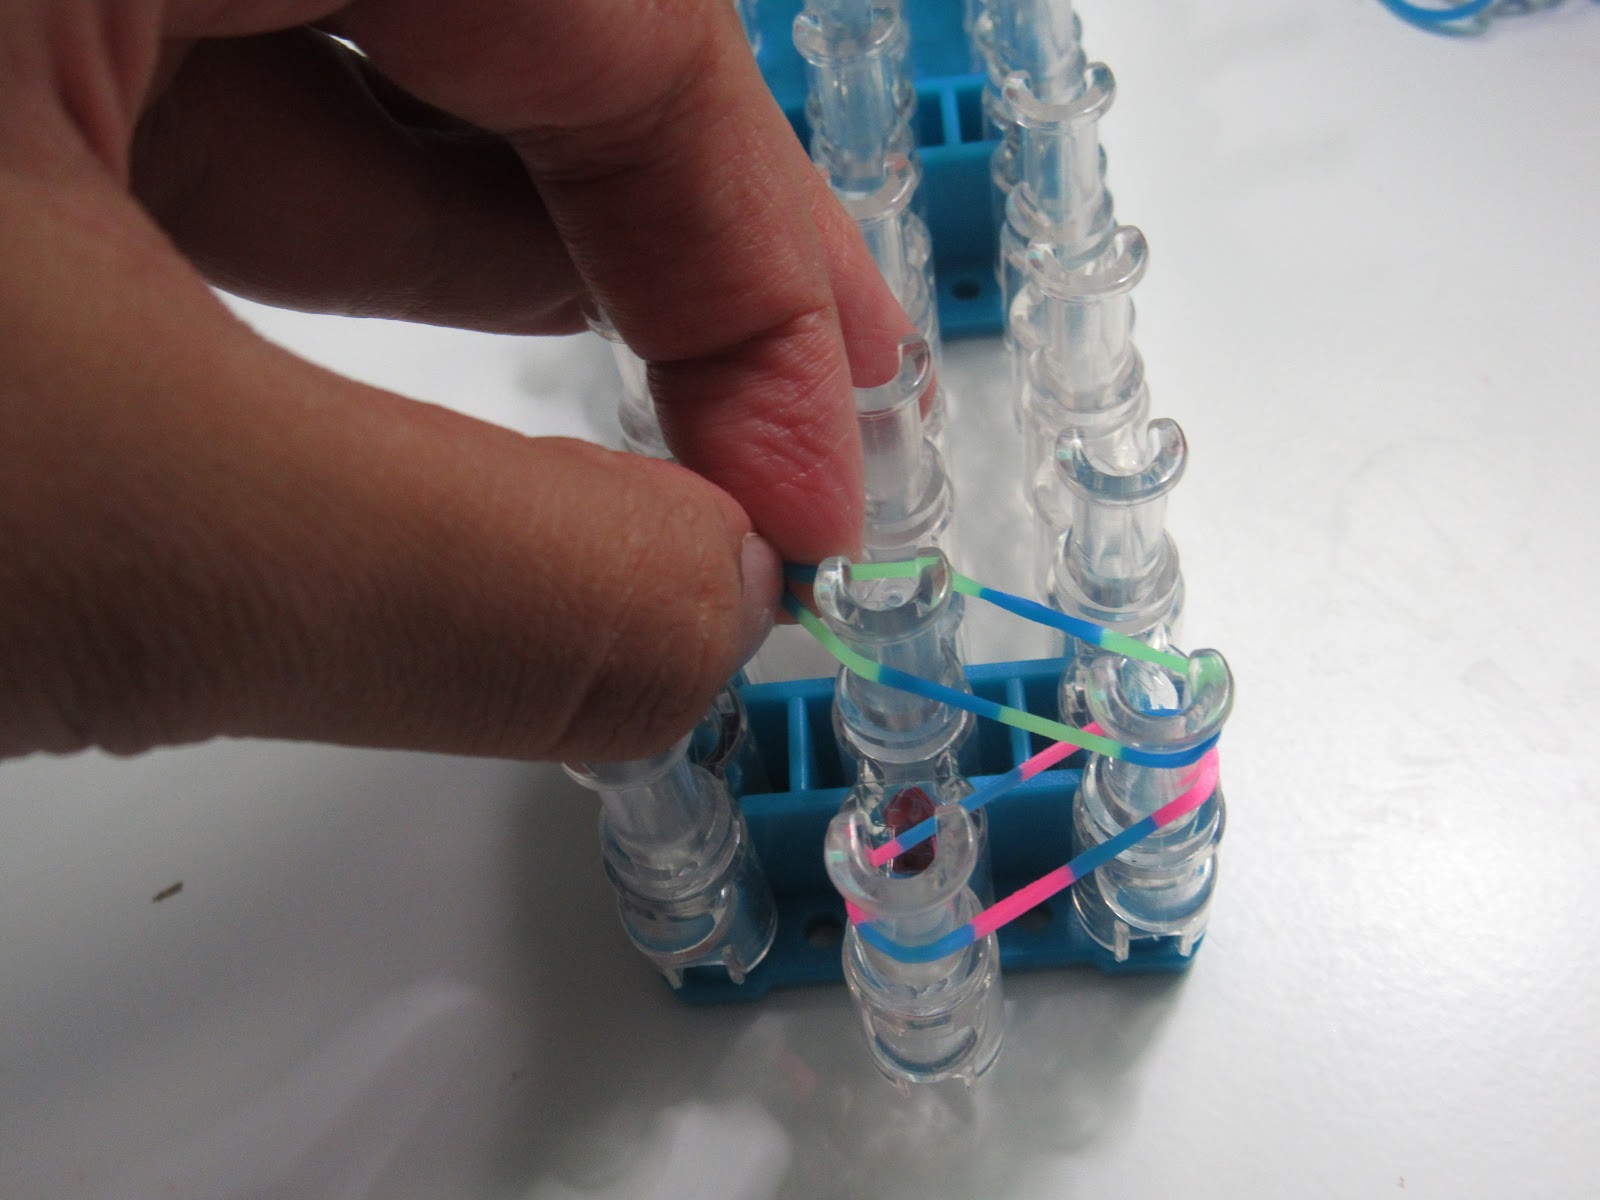
Continue in a zigzag pattern.

Now after you have continued that pattern through the loom, it should look like this.
It’s time to turn your loom around. We will now start using the hook!
So begin by putting your hook in that first band.
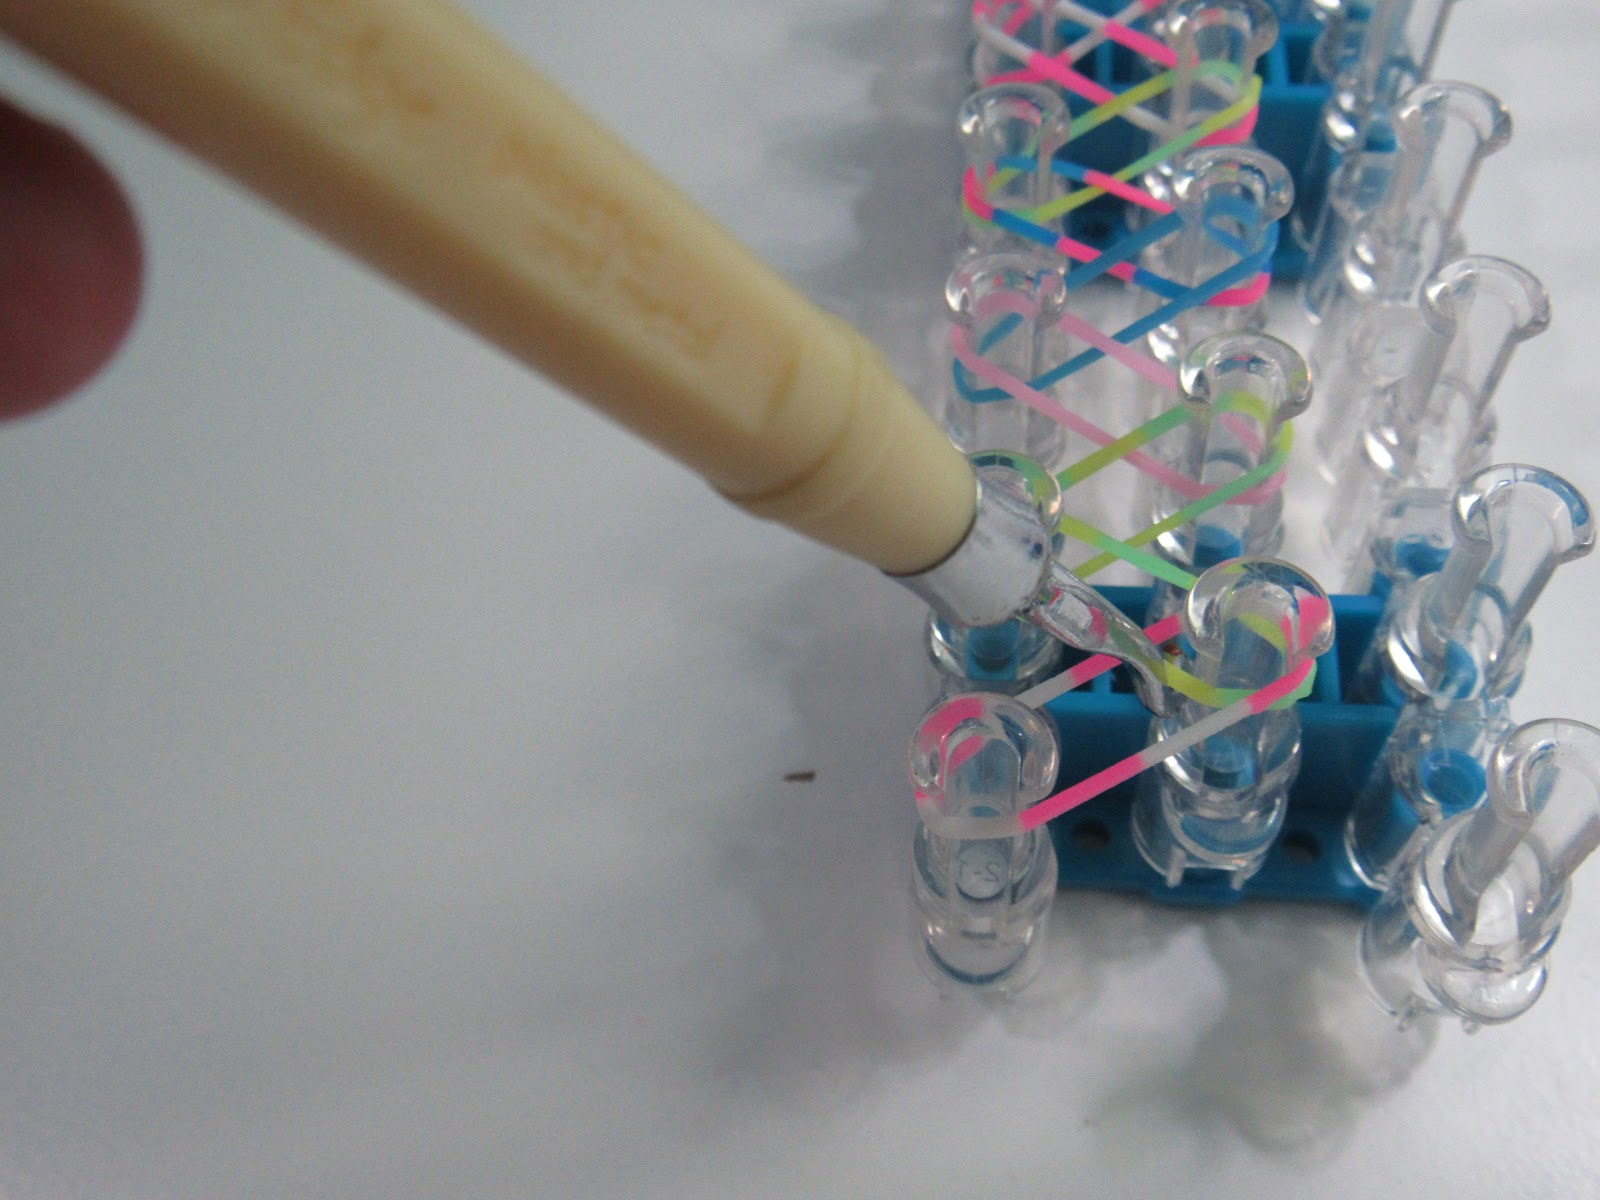
Now go forward into that peg and pick up that band.

Carefully take that band off the peg and put it on the next one.
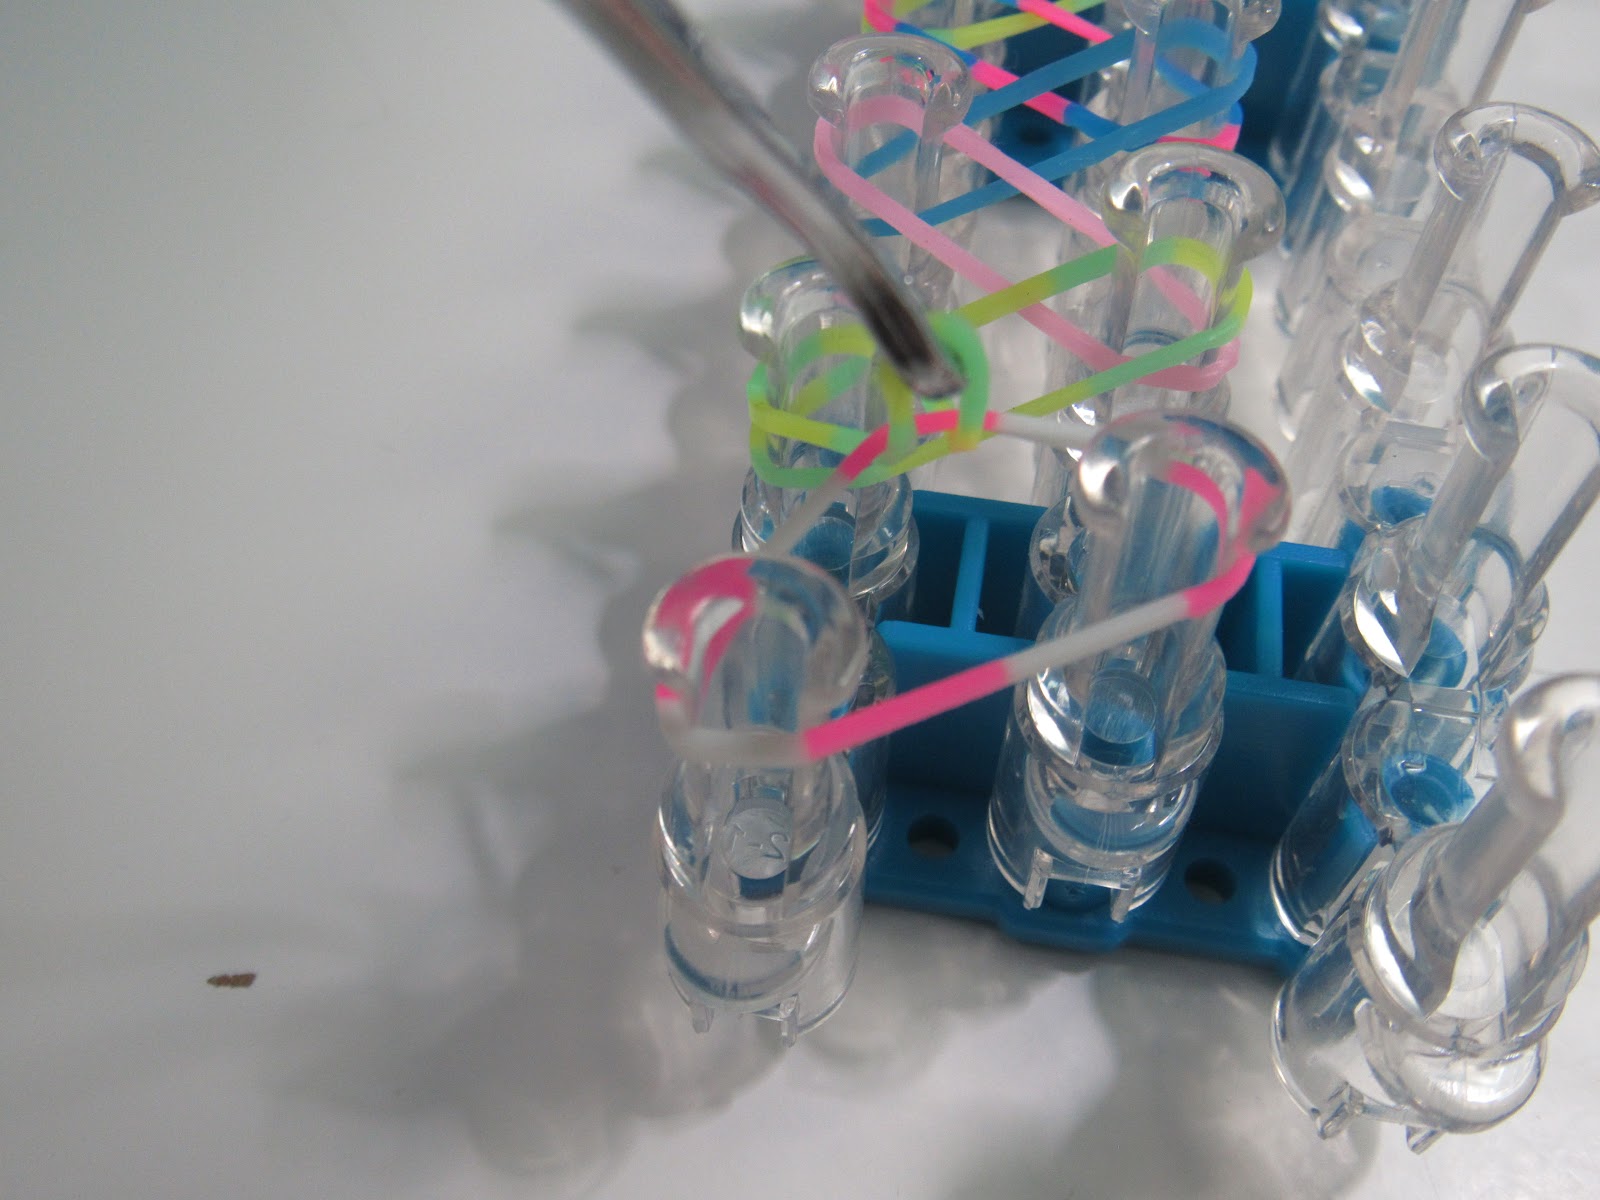

Now do the same for the next peg. Go inside the bands, push forward to the peg, take the band of the peg, and put it on the next one.

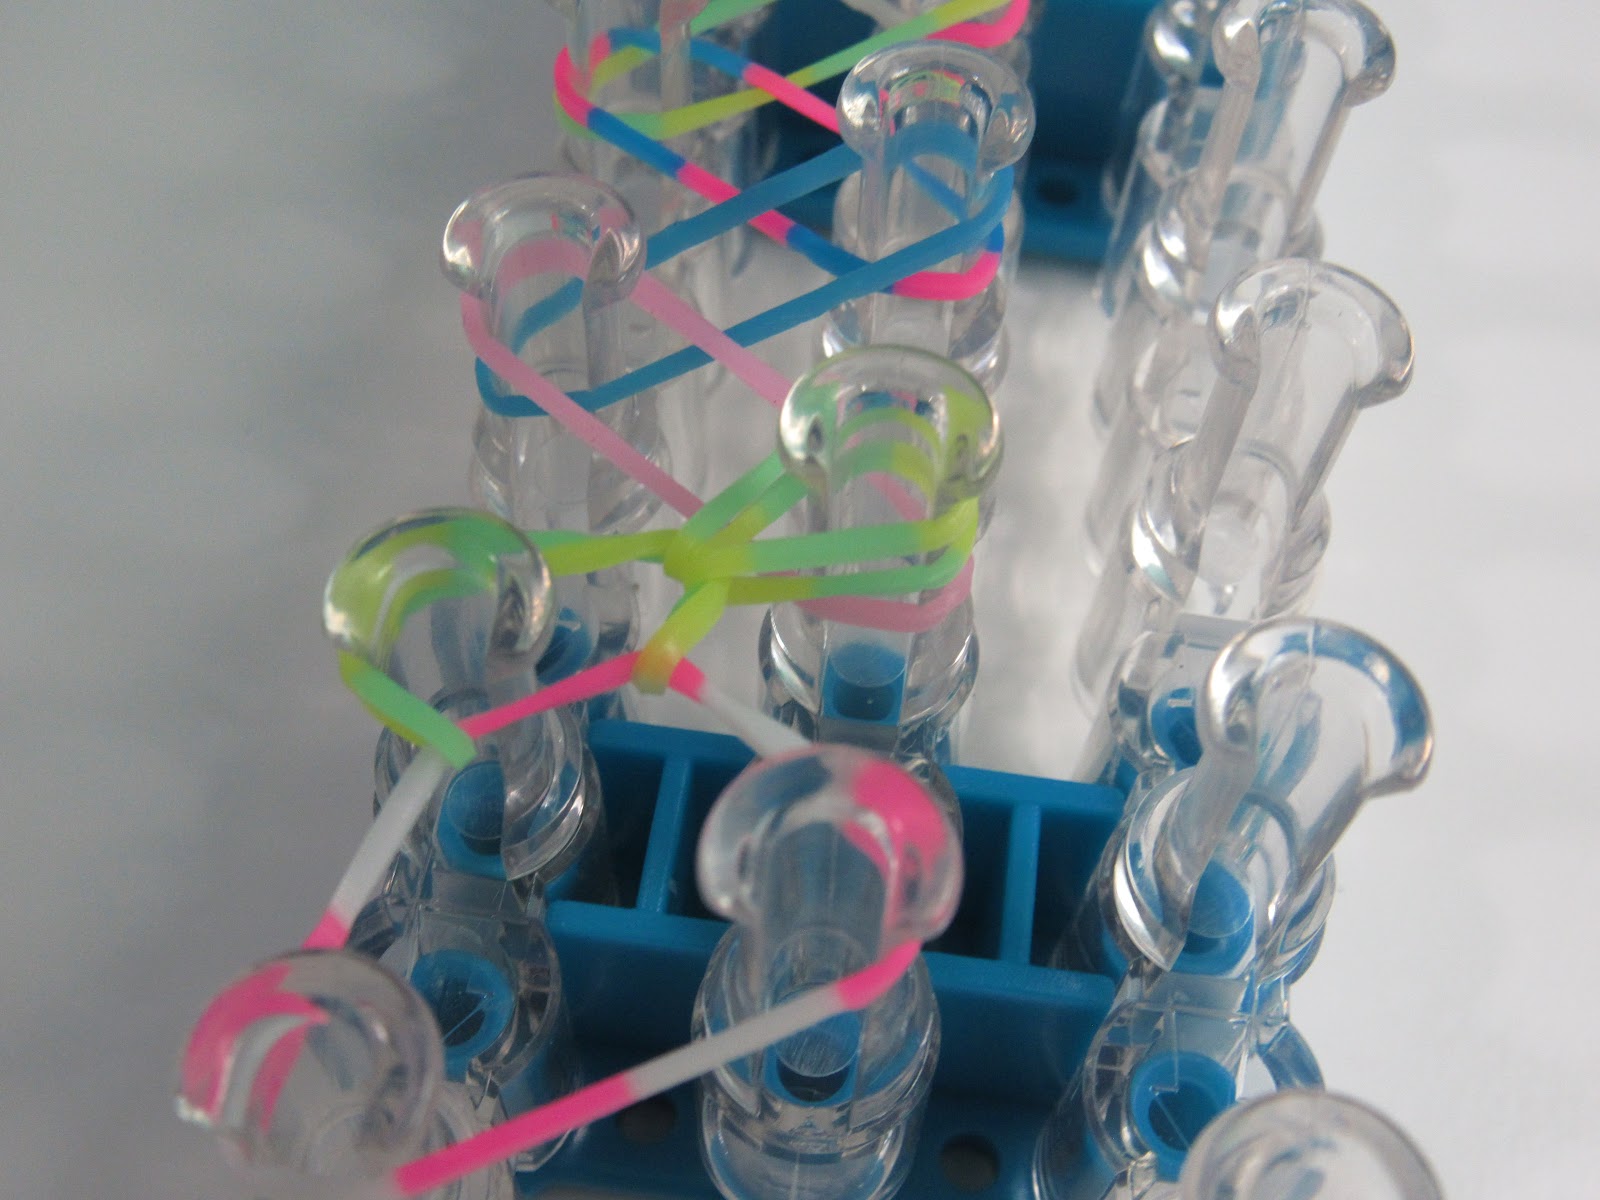
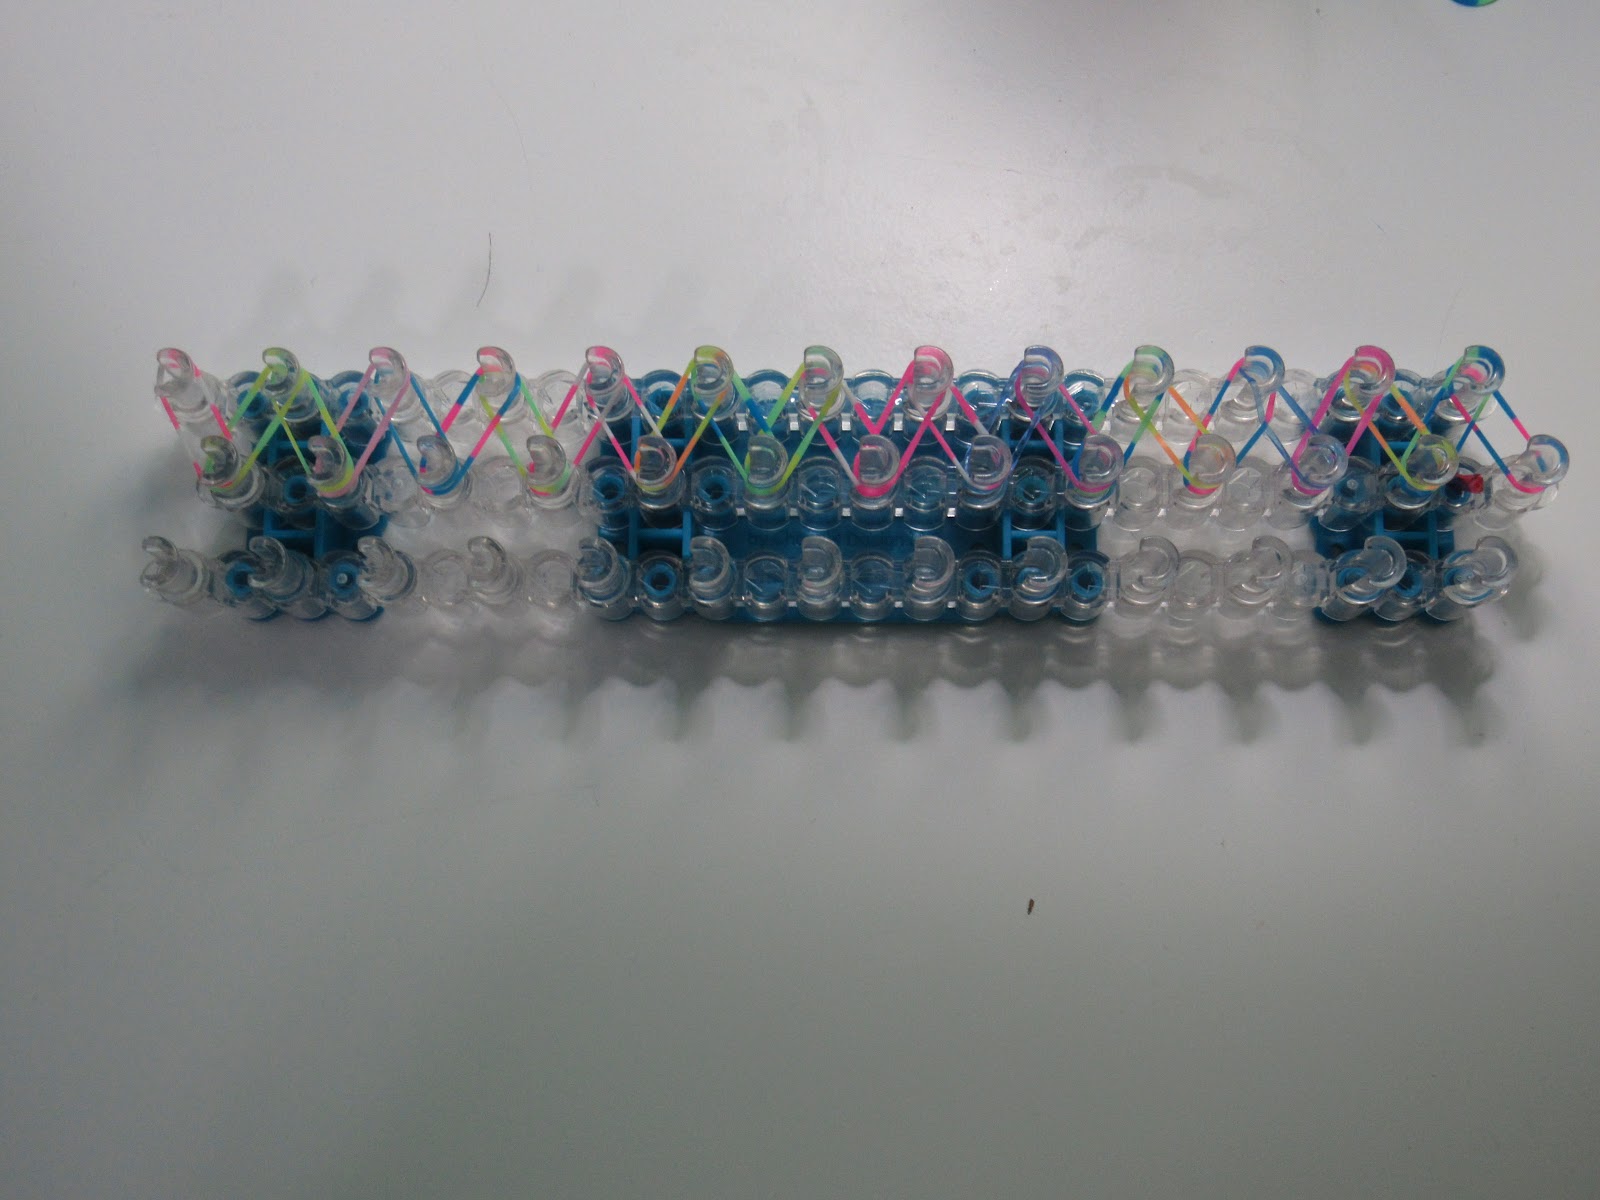
Read the steps above again for help with doing the next pegs. Anyways, soon your loom should look like this, and it is time to take it off the loom.
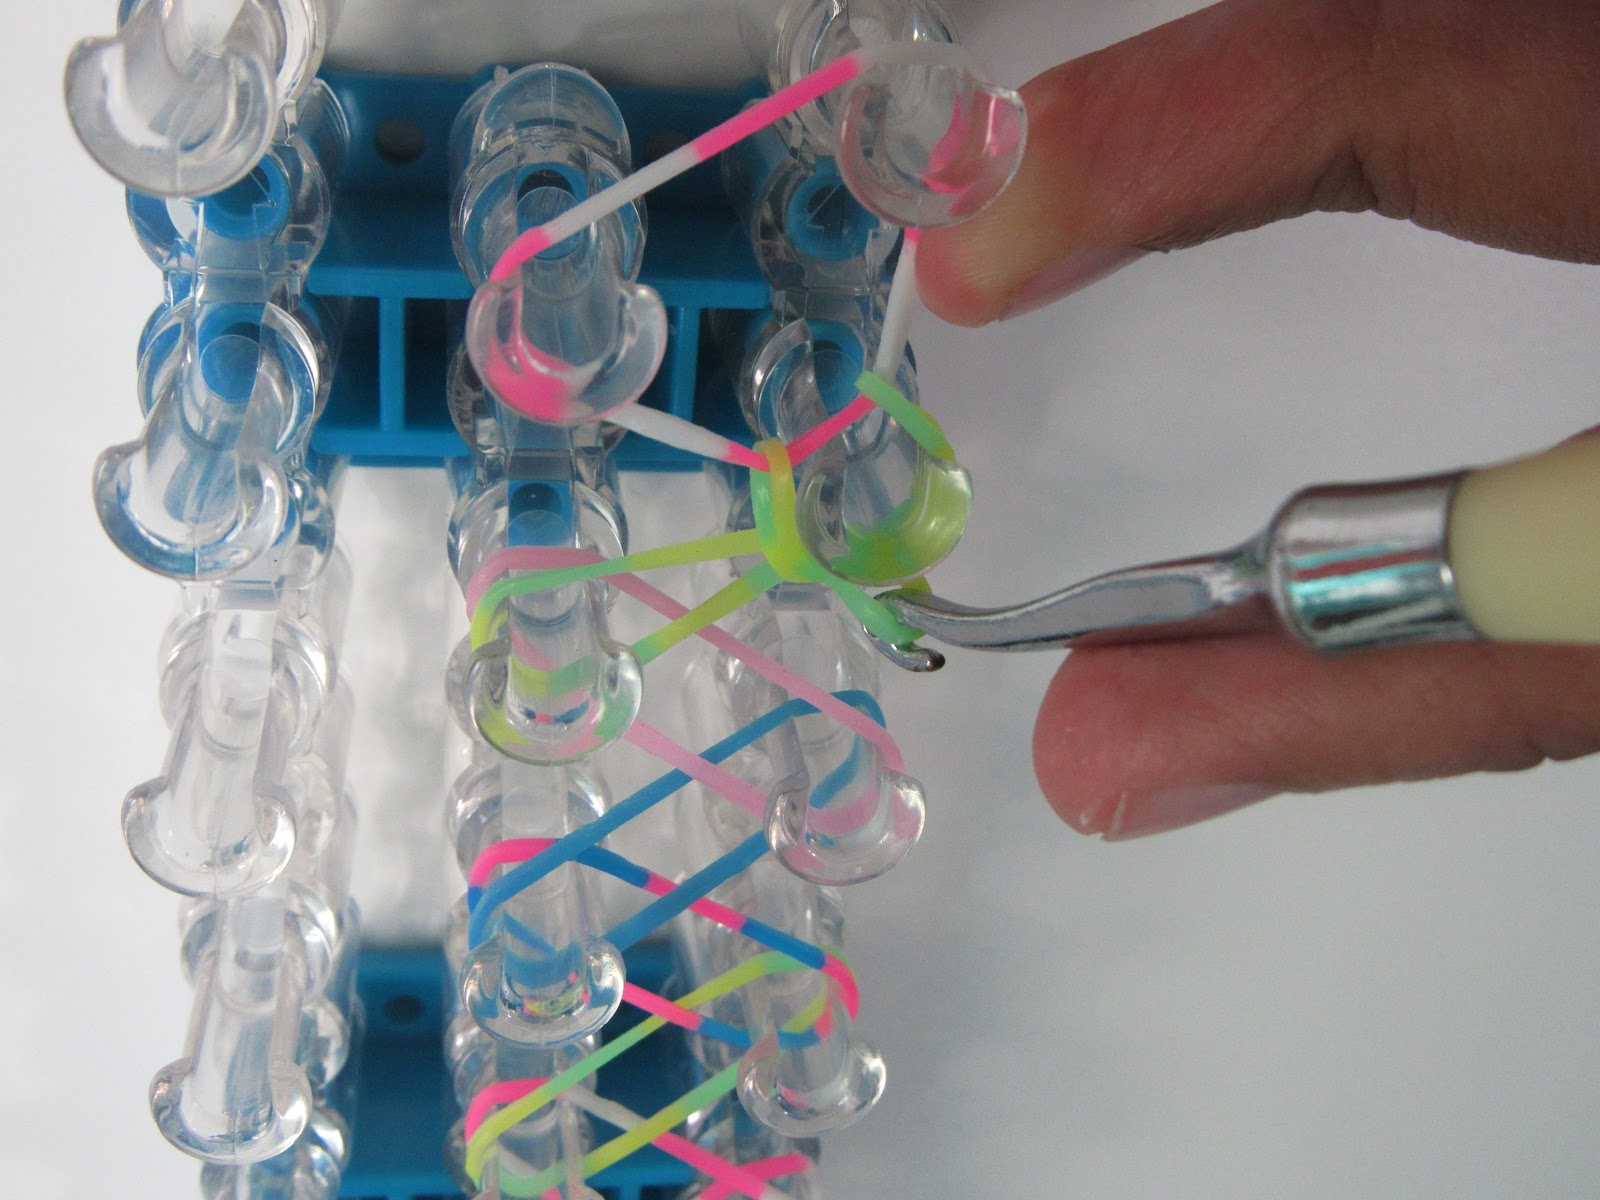
At the very end of the loom, stick your hook into the two loops and then you can take the bracelet off the loom!


After you take it off, you may use a clip to connect the bracelet like this. (I will be using a s-clip). After you stick a clip through the loops, take the bracelet off the hook and connect the bracelet.


Yay you did it!

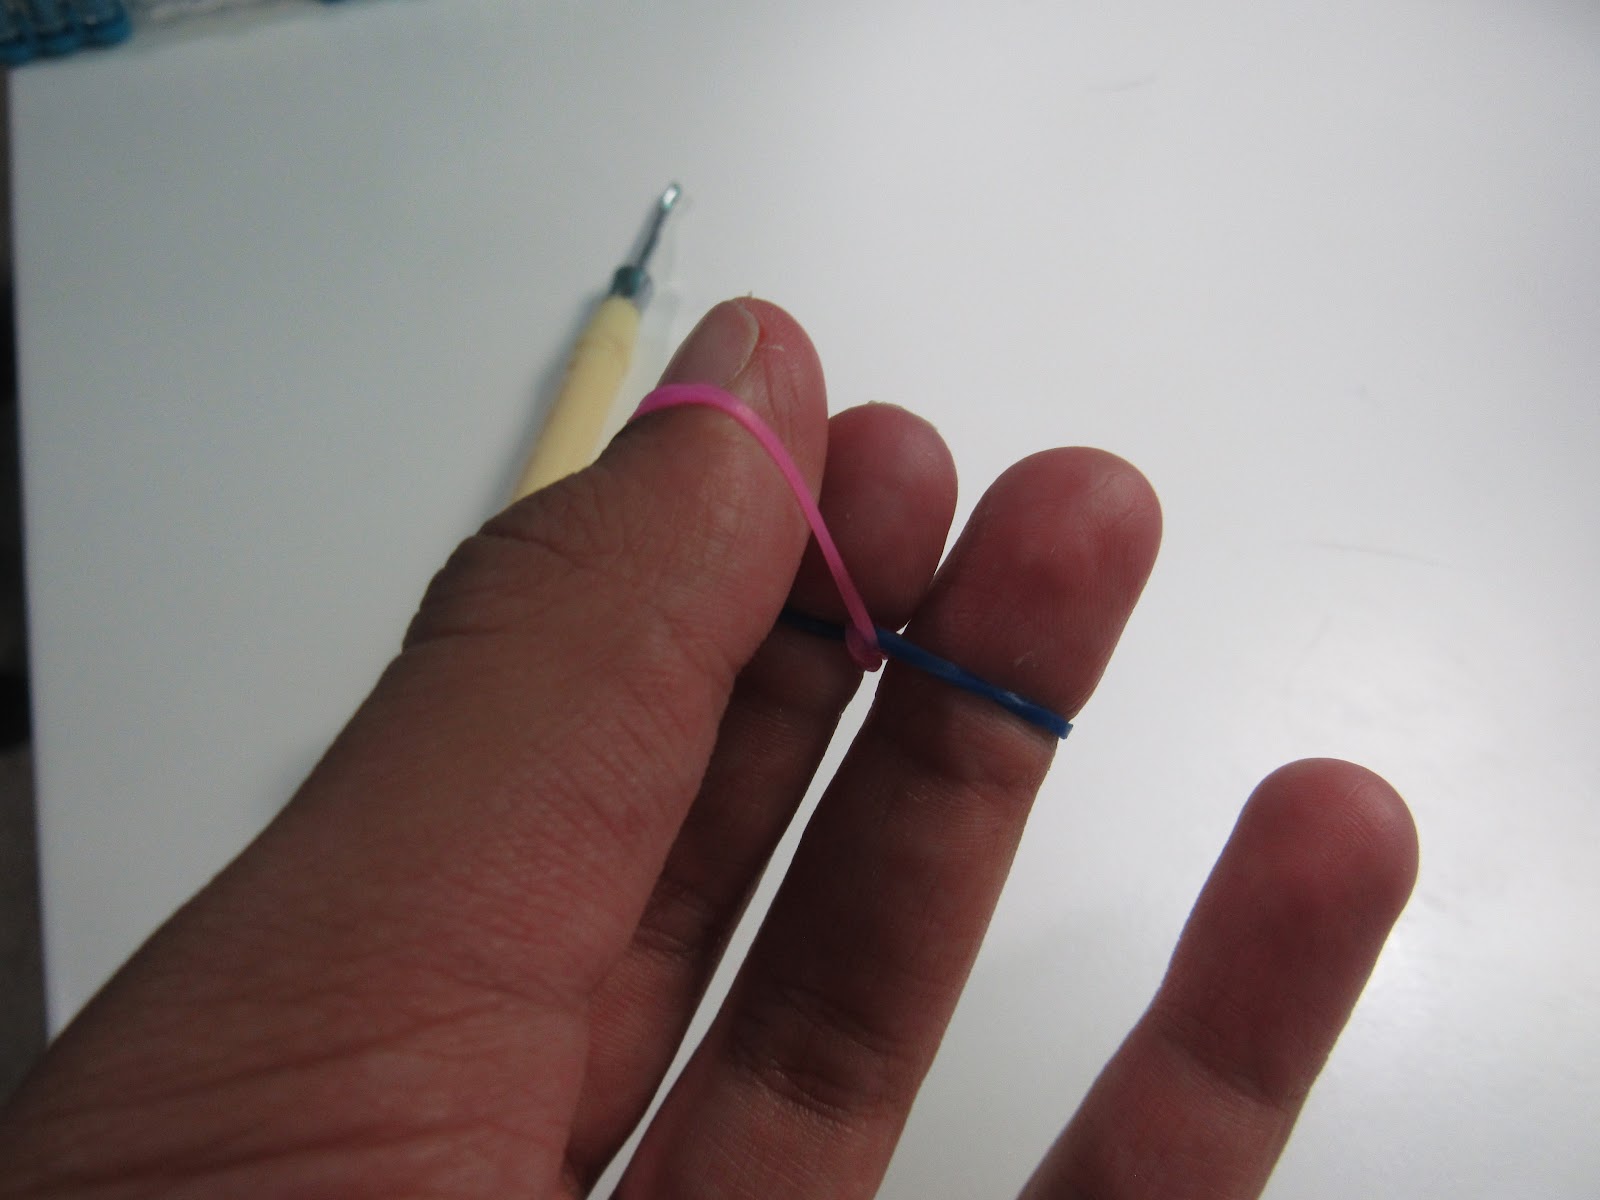
Now I am going to teach you how to use your fingers to do it!
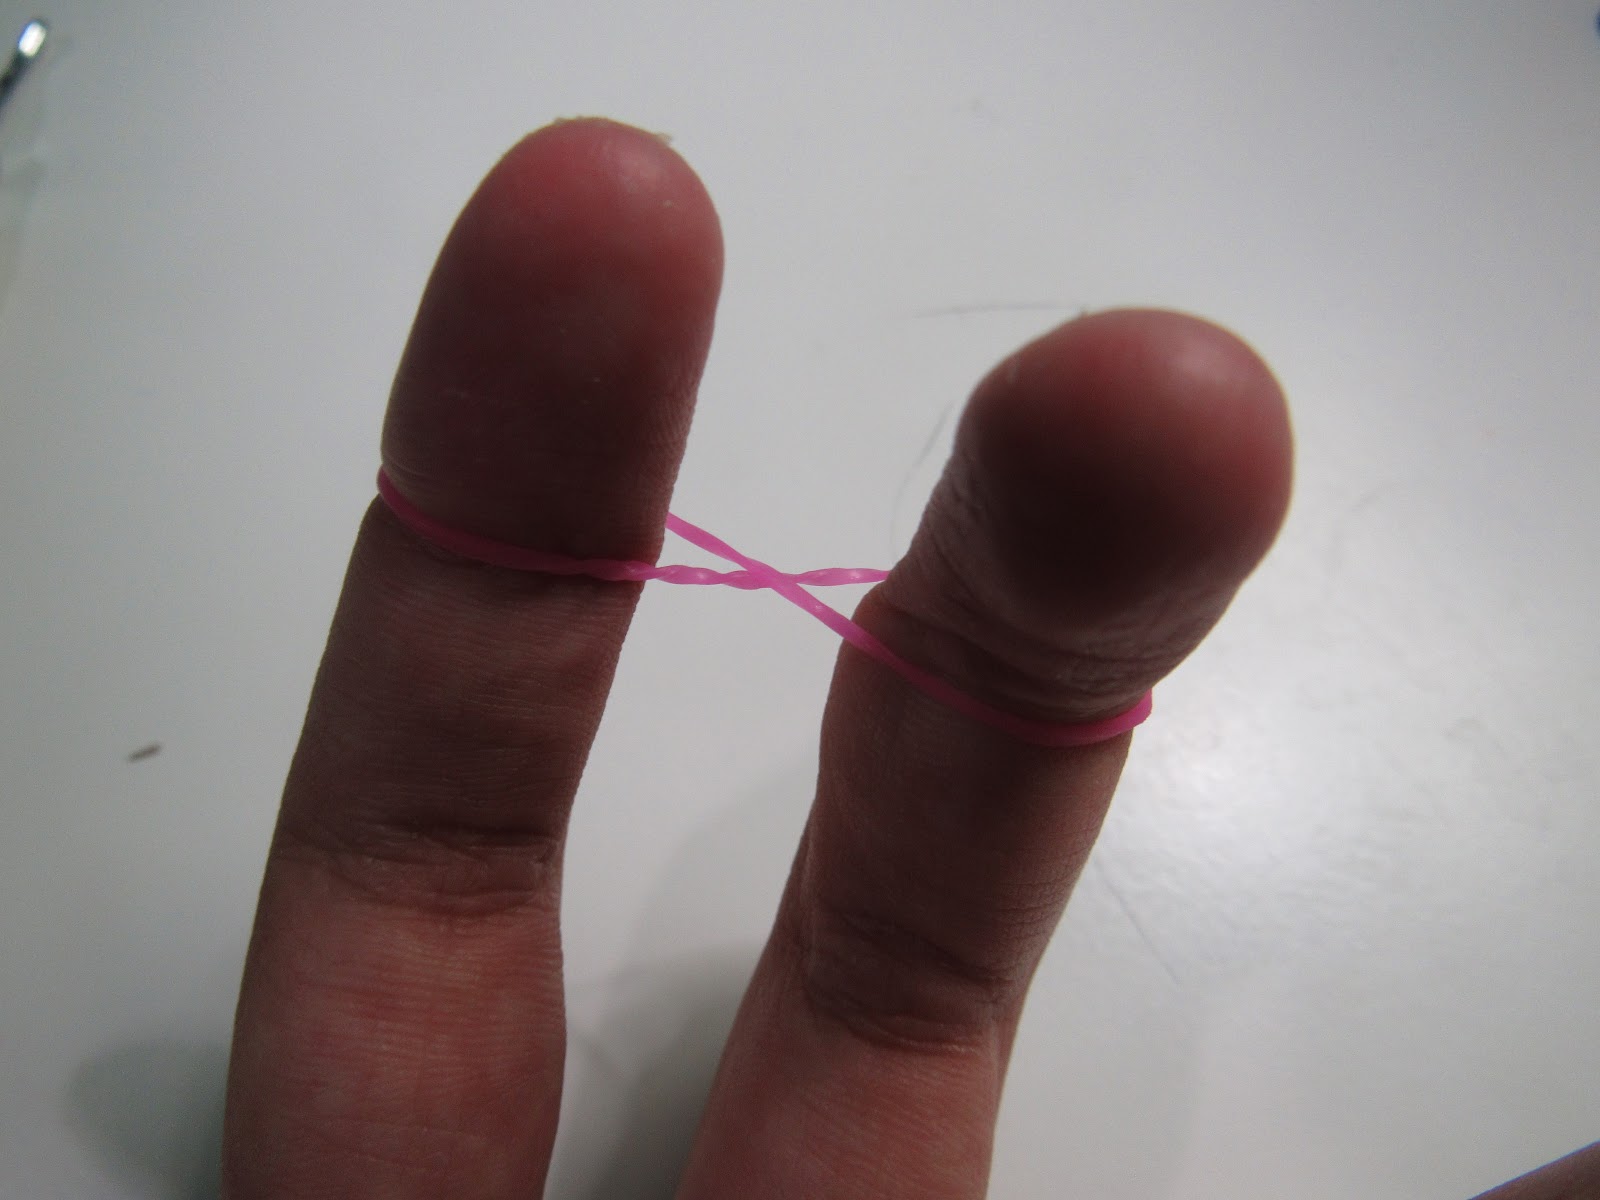
Start by putting a band on one finger and then twisting it and putting it on the other finger.
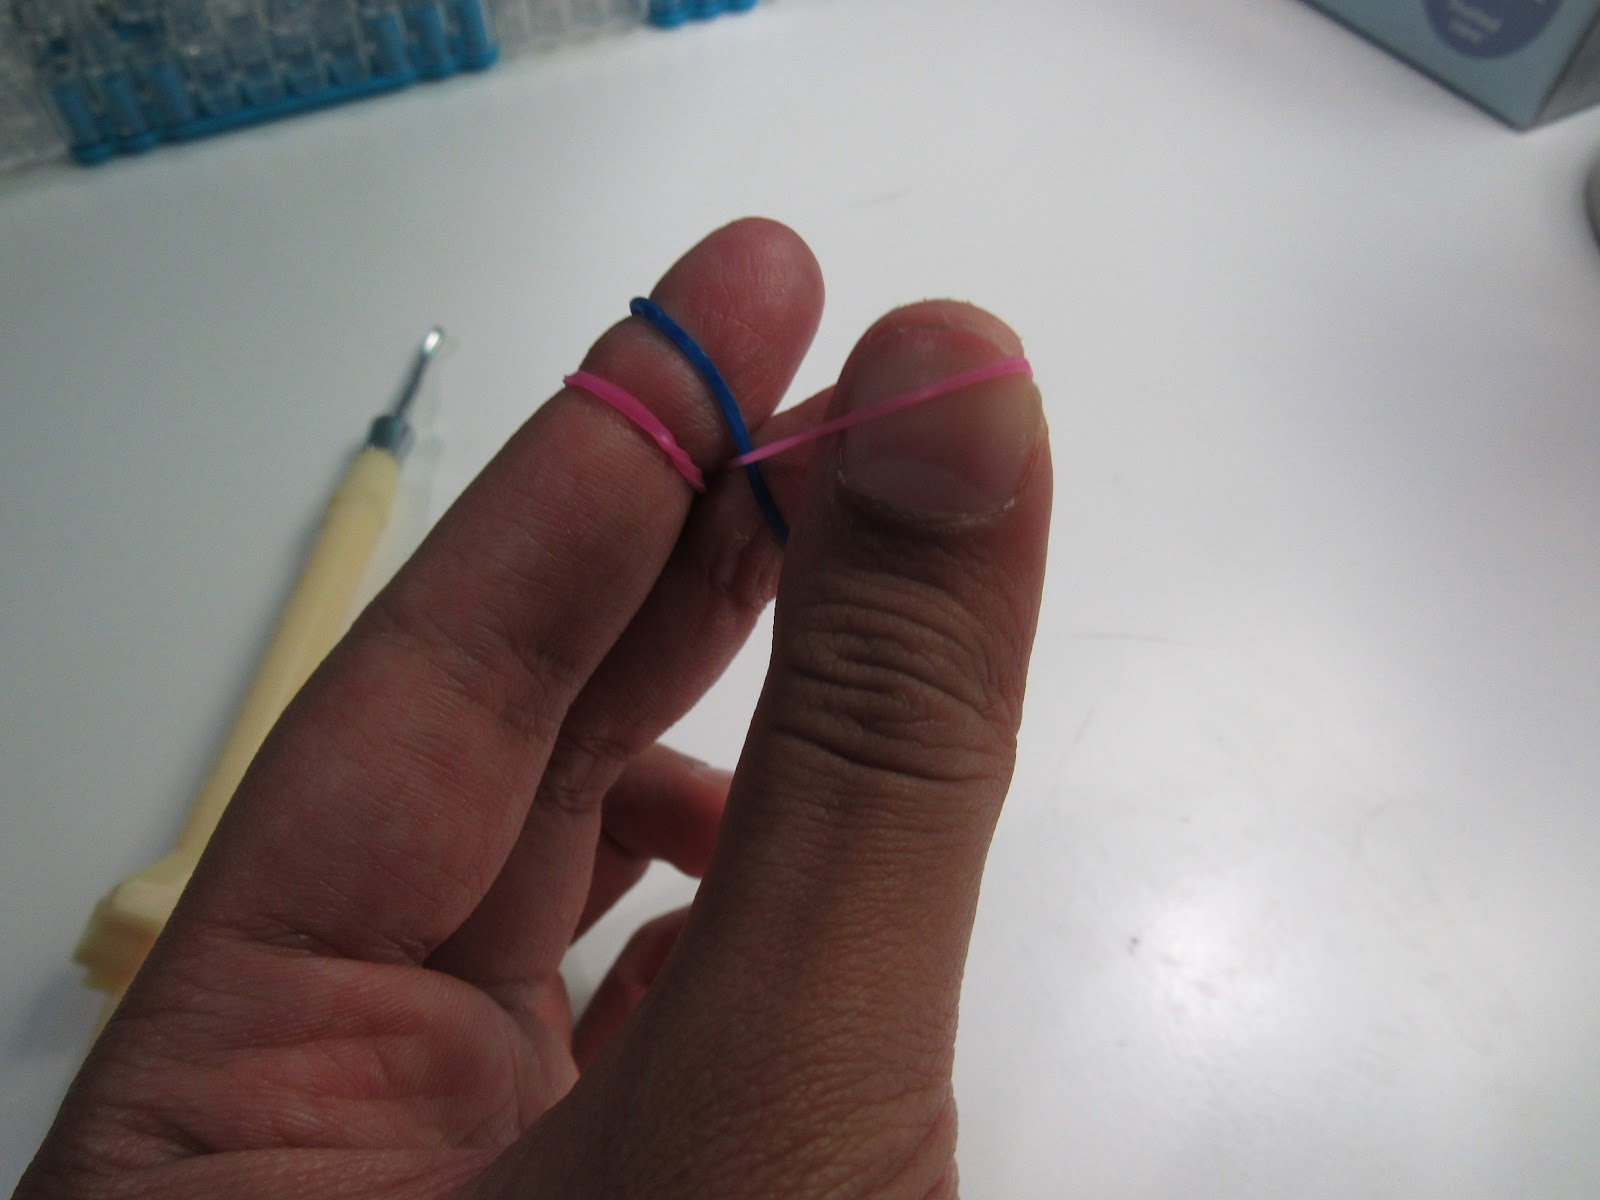
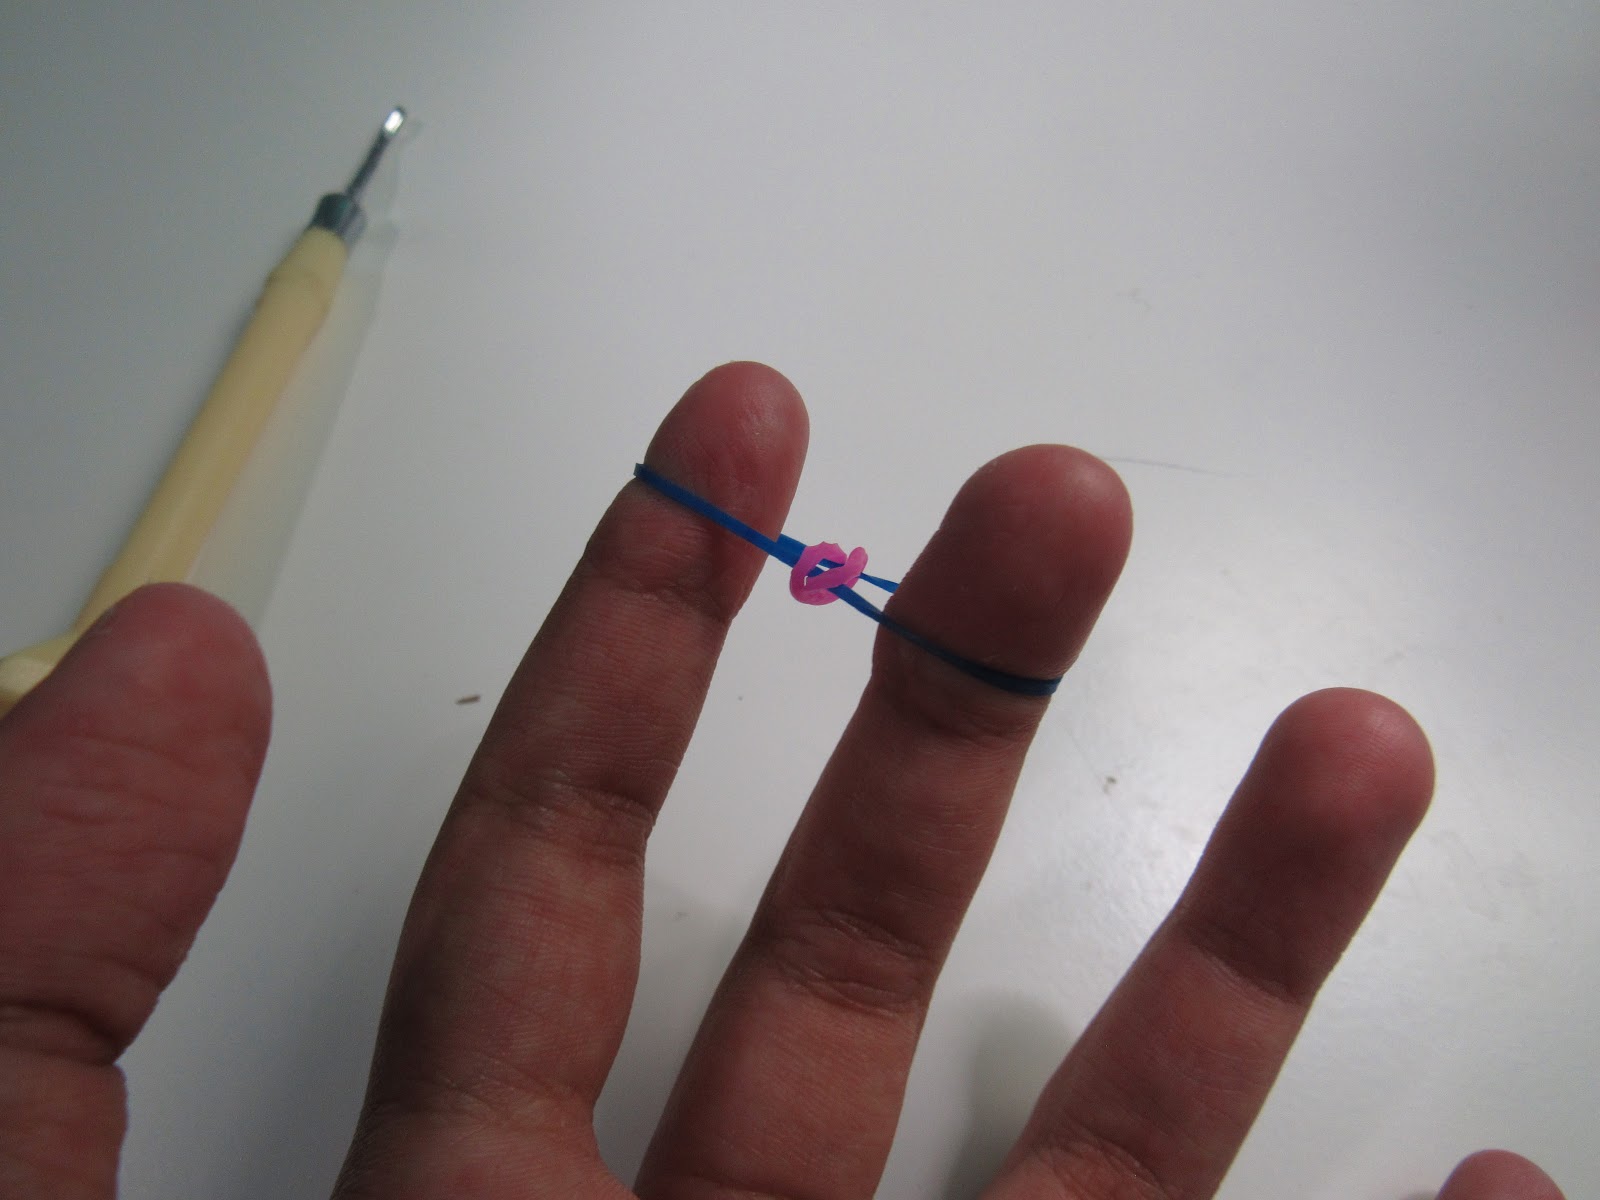
Next, put a band normally on the top.

Now take the bottom band of each side and flip it over like this.
Put another band on and repeat the previous step.

Put another band on and keep on following that pattern until it becomes long enough for your wrist!
Once it is long enough, make sure two bands are on and take the bottom band of each side and flip it over so one band remains.

Take a clip and put the loops in the clip.
Now connect the clip to the other side. You did it!!!
Was that fun? If it was, keep watch for more articles in the DIY Rainbow Loom series; we will be learning how to make more bracelets in the future. Thank you for reading ASOP!